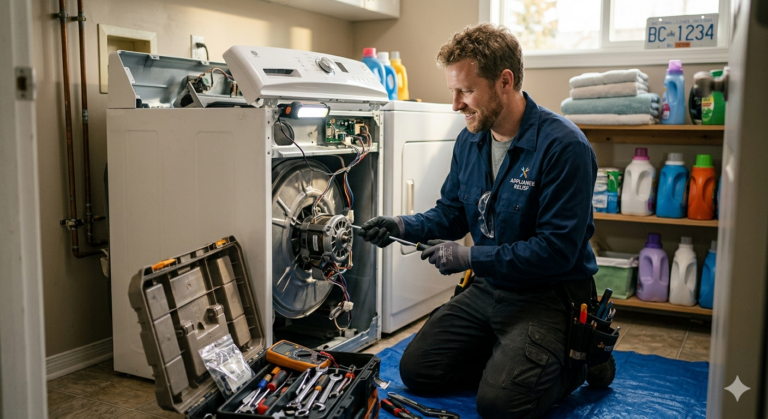
A damaged washing machine door seal is more than just a cosmetic issue — it’s a gateway to leaks, mold, and foul odors that can turn your laundry room into a headache. The good news? Replacing a front-load washer door seal is a DIY project that most handy homeowners can tackle in about one to two hours with basic tools and a bit of patience.
In this step-by-step guide, we’ll walk you through everything you need to know about replacing your washing machine’s door seal (also known as a door boot gasket or bellows), from identifying the problem to completing the installation and testing your work.
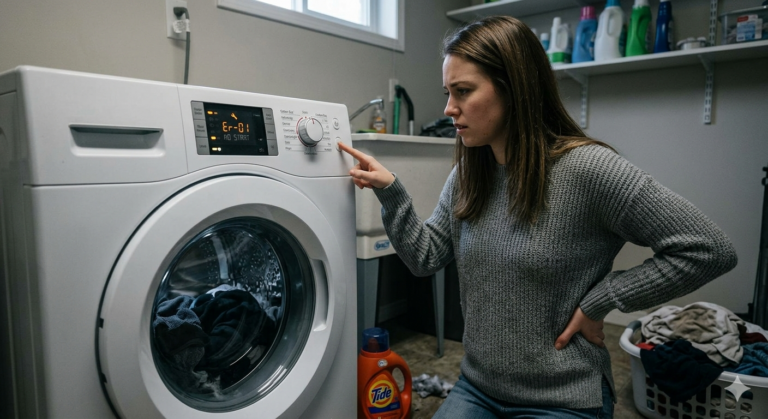
Signs Your Door Seal Needs Replacing
Before you commit to replacing the seal, make sure it’s actually the source of the problem. Here are the telltale signs that your door gasket has seen better days:
- Visible tears or cracks: Inspect the seal carefully by pulling it back gently. Even small tears can allow water to escape during a wash cycle.
- Water leaking from the door: If you notice puddles forming at the front of your washer during or after a cycle, a compromised door seal is the most likely culprit.
- Persistent mold or mildew: Black spots and a musty smell that won’t go away despite cleaning indicate the mold has penetrated deep into the rubber.
- The seal has become stiff or warped: Over time, rubber degrades. A gasket that no longer flexes properly can’t create a watertight seal.
- Small objects keep getting trapped: Coins, hair clips, and small items slipping between the seal and the drum suggest the gasket has loosened or deformed.
If you’re noticing any of these symptoms, replacing the seal is the right call. Continuing to use a washer with a damaged seal can lead to water damage on your floors, increased mold growth, and potentially expensive repairs to other components.
What You’ll Need
Gather these tools and materials before you begin. Having everything ready saves time and prevents frustrating mid-project trips to the hardware store.
Tools
- Flathead screwdriver
- Phillips head screwdriver
- Pliers (needle-nose recommended)
- Socket wrench set or nut driver
- Towels or rags
- Flashlight
- Marker or masking tape (for alignment)
Materials
- Replacement door seal/boot gasket (specific to your washer’s brand and model)
- Mild detergent or white vinegar for cleaning
- Silicone lubricant (optional, but helpful for installation)
Finding the Right Replacement Seal
This is crucial — door seals are not universal. You need the exact replacement part for your specific washer model. Locate your model number (usually on a sticker inside the door frame or on the back of the machine) and order the matching gasket from the manufacturer, an authorized parts retailer, or a reputable online supplier. Using a generic or incorrect seal will result in poor fit, leaks, and wasted effort.
Step 1: Safety First — Disconnect Power and Water
Before you touch anything inside your washing machine, take these essential safety precautions:
- Unplug the machine from the electrical outlet. If the plug is difficult to reach, turn off the circuit breaker for your laundry room.
- Turn off the water supply by closing both the hot and cold water valves behind the machine.
- Lay down towels around the base of the washer to catch any residual water.
Never attempt any washing machine repair while the unit is connected to power. Water and electricity are a dangerous combination.
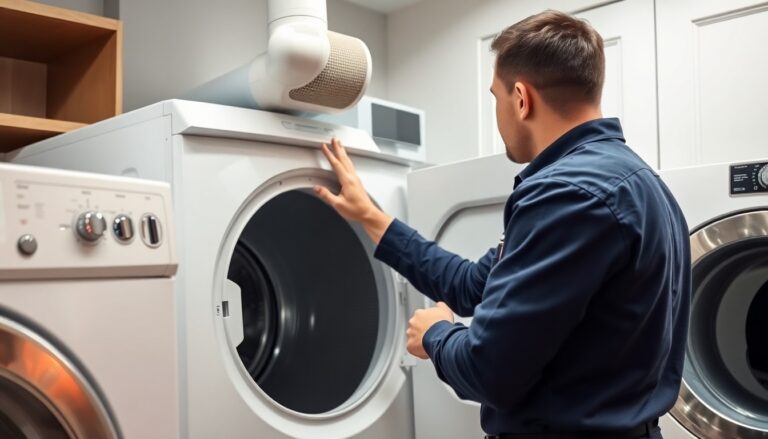
Step 2: Open the Door and Examine the Seal
Open the washer door wide and take a careful look at how the current seal is installed. The door seal on a front-load washer is held in place by two retaining bands (also called clamps or springs) — one on the front and one in the back where the seal attaches to the drum.
Before removing anything, use your marker or masking tape to mark the top of the seal. Door seals often have a small alignment triangle or arrow that matches a corresponding mark on the washer body. If yours doesn’t have visible alignment marks, creating your own ensures the new seal goes on in the correct orientation.
Step 3: Remove the Front Retaining Band
The front retaining band holds the seal to the front of the washer cabinet. Depending on your model, this band may be a wire spring, a metal clamp with a tension spring, or a plastic retaining ring.
- Wire spring type: Locate the spring (usually at the bottom of the seal). Hook the end of the spring with your flathead screwdriver and carefully work it around the seal to release it. Hold the spring firmly — it’s under tension and can snap back.
- Clamp type: Find the clamp’s bolt or screw and loosen it with the appropriate socket or screwdriver. Once loosened, the clamp can be removed by hand.
- Plastic ring type: These typically have tabs that you can pry loose with a flathead screwdriver.
Once the front band is removed, you can peel the front lip of the seal away from the washer cabinet. It should come free relatively easily.
Step 4: Access and Remove the Rear Retaining Band
The rear retaining band secures the seal to the drum — and it’s a bit trickier to reach. You have two options depending on your comfort level and washer model:
Option A: Remove from the Front
On some models, you can reach the rear band without removing the front panel. Fold the seal forward to expose the band underneath. Locate the spring or bolt and remove it the same way you did the front band. This requires good visibility (use your flashlight) and some patience.
Option B: Remove the Front Panel
For easier access, you can remove the washer’s front panel. This typically involves removing the top panel first (usually held by screws at the back), then the front panel (secured by screws accessible from the top or behind a lower kick plate). With the front panel removed, the rear retaining band is fully visible and much easier to work with.
Once the rear band is removed, the old seal can be pulled completely free from the drum. Take note of how it sits — the back lip wraps around the drum opening, and the front lip folds over the cabinet edge.
Step 5: Clean the Mounting Areas
Before installing the new seal, thoroughly clean the drum rim and the front cabinet edge where the seal sits. Use a mixture of warm water and mild detergent or white vinegar to remove any mold, soap residue, or grime. Pay special attention to the grooves and channels where the seal sits — any debris here can prevent the new gasket from sealing properly.
Allow the areas to dry completely before proceeding.
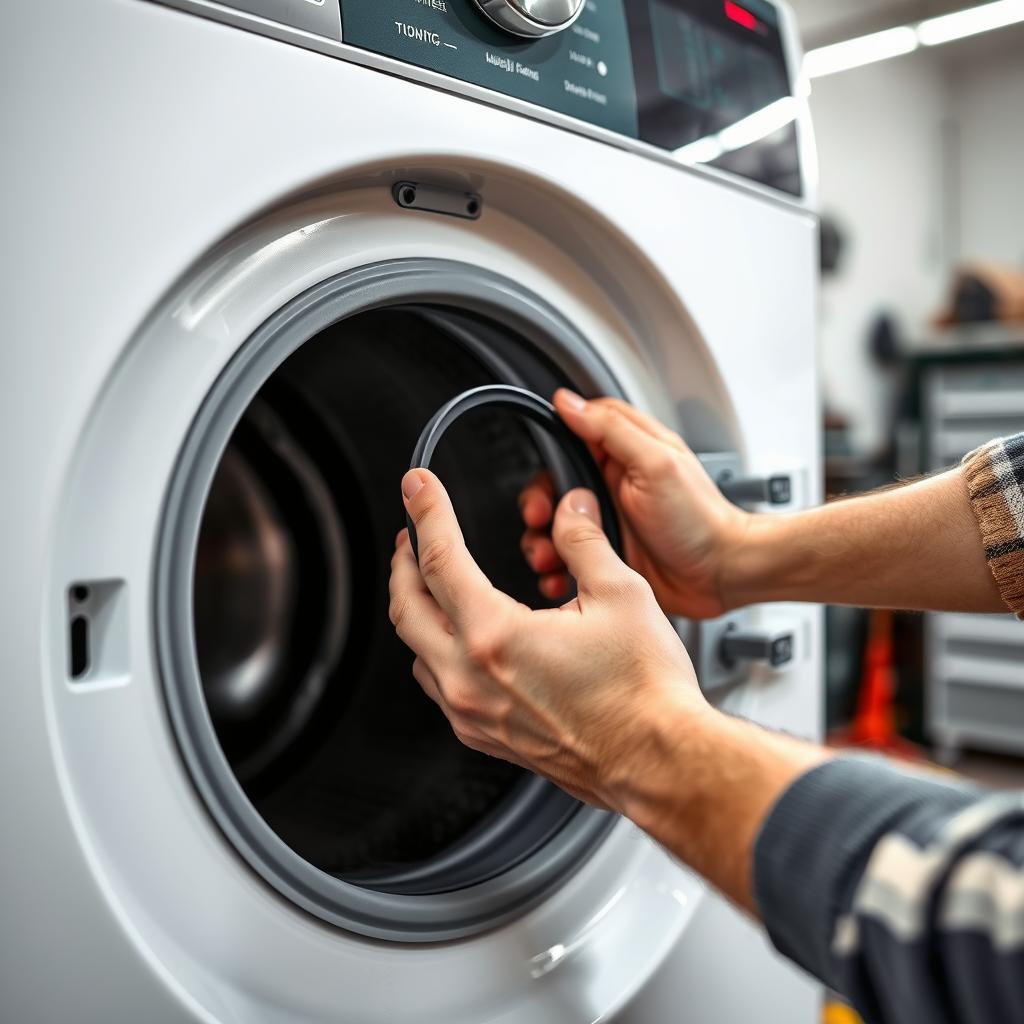
Step 6: Install the New Door Seal
Now for the main event. Take your new door seal out of its packaging and locate the alignment mark (triangle or arrow). If there’s no mark, use the one you noted on the old seal as a reference for orientation.
Attaching to the Drum (Rear)
- A thin coating of silicone lubricant on the drum rim can make the seal easier to slide into position. Don’t use petroleum-based products — they can degrade the rubber over time.
- Start at the top of the drum opening and work the rear lip of the seal onto the drum rim, pressing it firmly into the groove all the way around.
- Take your time and ensure the seal is evenly seated. An uneven installation will cause leaks and potentially damage the seal.
- Once the seal is fully seated on the drum, reinstall the rear retaining band. Secure it evenly, making sure the seal doesn’t shift as you tighten the clamp or spring.
Attaching to the Cabinet (Front)
- Fold the front lip of the seal over the edge of the washer cabinet opening, aligning your top mark.
- Work your way around evenly, pressing the lip into the channel all the way around.
- Reinstall the front retaining band. If it’s a wire spring type, hook one end and use the screwdriver to stretch it around the seal channel. If it’s a clamp, tighten the bolt or screw until snug — don’t over-tighten.
Step 7: Reassemble the Washer
If you removed the front panel in Step 4, now is the time to put it back:
- Reattach the front panel and secure it with the screws you removed earlier.
- Reattach the top panel if it was removed.
- Double-check that no wires, hoses, or connectors were accidentally disconnected during the process.
Step 8: Test Your Work
This is the moment of truth. Follow this testing sequence:
- Turn the water supply valves back on and check for leaks at the hose connections.
- Plug the machine back in (or turn the breaker back on).
- Run a short wash cycle on warm or hot with no clothes in the machine.
- Watch the door area closely throughout the entire cycle — during fill, wash, and drain phases.
- After the cycle completes, open the door and run your hand along the inside of the new seal to check for any water that might have seeped through.
If everything is dry, congratulations — you’ve successfully replaced your washing machine door seal. If you notice any leaks, the seal may not be properly seated in the groove. Remove the front retaining band, reseat the seal, and test again.
Tips for a Successful Installation
Here are some pro tips to make your door seal replacement go as smoothly as possible:
- Take photos before disassembly. Use your phone to photograph each step as you remove the old seal. These photos are invaluable references during reinstallation.
- Don’t rush the rear band. The rear retaining band is the most challenging part of this job. Take your time, use good lighting, and don’t be afraid to ask someone to hold a flashlight for you.
- Warm up the new seal. If the new gasket is stiff (especially in cooler weather), you can soften it by soaking it in warm water for 15-20 minutes before installation. The rubber will be much more pliable and easier to work with.
- Work in sections. Don’t try to press the entire seal into place at once. Work in small sections, alternating sides to keep the seal centered and evenly distributed.
How to Keep Your New Door Seal in Great Shape
Now that you’ve put in the effort to install a new seal, protect your investment with these simple maintenance habits:
- Wipe the seal dry after every load. Use a towel to wipe down the inner folds of the gasket to remove standing water. This is the single best thing you can do to prevent mold.
- Leave the door ajar between loads. Allowing air to circulate inside the drum and around the seal dramatically reduces moisture buildup and mold growth.
- Clean the seal monthly. Mix equal parts white vinegar and water, spray it on the seal, and wipe thoroughly. For stubborn mold, a paste of baking soda and water works wonders.
- Check the seal regularly. Every few months, pull the seal back gently and inspect for tears, mold buildup, or debris. Catching problems early means simpler fixes.
- Use HE detergent in the correct amount. Excess detergent creates residue that feeds mold and degrades rubber over time.
When to Call a Professional
While replacing a door seal is a manageable DIY project for many homeowners, there are situations where professional help is the better choice:
- Your washer model requires removing the entire drum assembly to access the rear clamp — some European brands have more complex designs.
- You discover additional damage during the process, such as a cracked drum, corroded mounting hardware, or damaged wiring.
- You’re uncomfortable working with the retaining springs, which can be under significant tension.
- The leak persists after seal replacement, indicating the problem may be elsewhere — such as the tub-to-pump hose or the door latch mechanism.
If you’d rather leave this job to the experts, or if you’ve run into complications during your DIY attempt, Tech Angels Appliance Repair is here to help. Our experienced technicians handle washing machine repairs across Vancouver and the Lower Mainland, and we always arrive with the right parts and tools to get the job done right the first time.
Final Thoughts
Replacing a washing machine door seal is one of those satisfying home repairs that delivers immediate, visible results. No more leaks, no more mold smell, and no more worrying about water damage to your laundry room floor. With the right replacement part, basic hand tools, and a couple of hours, you can restore your front-load washer to like-new condition.
Just remember to take your time, follow the steps in order, and prioritize safety by disconnecting power and water before you begin. And if the project turns out to be more complex than expected, there’s no shame in calling in the professionals. That’s what we’re here for.
Questions about your washing machine? Reach out to Tech Angels at (604) 265-3565 — we’re happy to help with advice or hands-on repair service throughout the Greater Vancouver area.