Do-It-Yourself Fixes for a Refrigerator Failing to Defrost
A refrigerator is the heart of any kitchen, keeping your food fresh and safe. But when it stops defrosting properly, you may notice frost buildup, uneven cooling, or skyrocketing energy bills. A refrigerator that’s not defrosting can lead to reduced efficiency, spoiled food, and costly repairs if left unaddressed. At Tech-Angels.ca, we’re committed to helping you keep your appliances running smoothly. This comprehensive guide will walk you through the causes of a refrigerator’s defrosting issues, step-by-step troubleshooting, DIY solutions, and when to call in professional help to restore your fridge to peak performance.
Understanding the Refrigerator Defrost System
Modern refrigerators, especially frost-free models, have an automatic defrost system to prevent ice buildup in the freezer compartment. This system typically includes:
- Defrost Heater: Melts ice on the evaporator coils.
- Defrost Thermostat: Monitors the coil temperature and signals the heater to turn on.
- Defrost Timer or Control Board: Regulates when the defrost cycle occurs (usually every 6-12 hours).
- Drain System: Channels melted water out of the freezer to prevent refreezing.
When any of these components fail, frost accumulates on the evaporator coils, blocking airflow and reducing cooling efficiency. Common symptoms include:
- Thick frost or ice buildup in the freezer.
- Warm temperatures in the refrigerator or freezer compartments.
- The compressor running constantly, increasing energy consumption.
- Water pooling at the bottom of the fridge due to a clogged drain.
By identifying the root cause, you can apply targeted DIY fixes to resolve the issue and avoid unnecessary expenses.
Related: The Impact of Hard Water on Appliances and How to Mitigate It
Safety Precautions Before Starting
Repairing a refrigerator involves working with electrical components and potentially sharp parts, so safety is critical:
- Unplug the Refrigerator: Disconnect the power to avoid electrical shock.
- Clear the Area: Remove food from the freezer and store it in a cooler to prevent spoilage during repairs.
- Work in a Well-Lit Space: Use a flashlight to see inside the freezer or behind the fridge.
- Gather Tools: You’ll need a screwdriver set (Phillips and flathead), a multimeter, a hairdryer, a soft brush, a towel, and possibly replacement parts (e.g., defrost thermostat or heater).
- Consult the Manual: Check your refrigerator’s user manual for model-specific details on accessing components and part numbers.
If you’re uncomfortable with electrical repairs or unsure about any step, contact Tech-Angels.ca for professional assistance to ensure a safe and effective repair.
Step-by-Step Troubleshooting Guide
Troubleshooting helps pinpoint the cause of the defrosting issue. Follow these steps to diagnose the problem systematically:
Step 1: Confirm the Defrost Issue
Verify that the refrigerator isn’t defrosting by checking for:
- Frost or ice buildup on the evaporator coils (located behind a panel in the freezer).
- Warm temperatures in the fridge (above 40°F/4°C) or freezer (above 0°F/-18°C).
- Unusual noises, such as the compressor running constantly or clicking sounds.
Document these symptoms to guide your troubleshooting.
Step 2: Perform a Manual Defrost
To rule out temporary issues and clear excess frost:
- Unplug the Refrigerator: Disconnect the power for safety.
- Remove Freezer Contents: Place food in a cooler with ice packs.
- Open the Freezer Door: Place towels at the bottom to catch melting water.
- Use a Hairdryer: On a low setting, gently melt ice on the evaporator coils (behind the back or bottom freezer panel). Avoid high heat to prevent damage to plastic components.
- Clean the Drain: Ensure the drain tube (usually below the coils) is clear by pouring warm water through it. Use a turkey baster or pipe cleaner to remove clogs.
After defrosting, plug in the fridge and monitor it for 24 hours. If frost returns, the automatic defrost system is likely faulty.
Step 3: Access the Evaporator Coils and Defrost Components
To inspect the defrost system:
- Remove the Freezer Panel: Unplug the fridge and locate the evaporator cover (usually at the back or bottom of the freezer). Remove screws or clips to access the coils, heater, and thermostat.
- Inspect for Damage: Look for visible issues, such as burnt wires, corroded connectors, or ice blocking the drain.
- Take Photos: Document the wiring and component layout for reassembly.
Step 4: Test the Defrost Thermostat
The defrost thermostat signals the heater to turn on when the coils reach a specific temperature. To test it:
- Locate the Thermostat: It’s usually a small, cylindrical component clipped to the evaporator coils.
- Test Continuity with a Multimeter: Disconnect the thermostat’s wires and set the multimeter to continuity mode. Place probes on the thermostat’s terminals. At freezing temperatures (0°F/-18°C or lower), it should show continuity (near 0 ohms). Warm it with your hand or a hairdryer to 40°F/4°C; it should show no continuity.
- Interpret Results: If the thermostat fails the continuity test, it’s defective and needs replacement.
Step 5: Test the Defrost Heater
The defrost heater melts ice on the coils. To check it:
- Locate the Heater: It’s typically a metal or glass tube beneath or around the evaporator coils.
- Test Continuity: Disconnect the heater’s wires and use a multimeter in continuity mode. A working heater should show continuity (low resistance, typically 10-50 ohms, per the manual). No continuity indicates a faulty heater.
- Inspect Visually: Look for burn marks, cracks, or breaks in the heater element.
Step 6: Test the Defrost Timer or Control Board
The timer or control board initiates the defrost cycle. To test:
- Locate the Timer: In older models, it’s usually behind the control panel or near the compressor (at the back of the fridge). Electronic models use a control board instead.
- Test a Mechanical Timer: Manually advance the timer knob (using a screwdriver) until it clicks into the defrost cycle. If the heater activates (you may hear a faint hum or see ice melting), the timer is likely functional. If not, test with a multimeter for continuity across the timer’s terminals (consult the manual for specifics).
- Test an Electronic Control Board: Control boards are complex and require a multimeter to check input/output voltages. If you’re not experienced with electronics, this step is best left to professionals.
Step 7: Check the Drain System
A clogged drain can cause water to refreeze, mimicking a defrost issue:
- Locate the Drain: Usually below the evaporator coils, leading to a pan under the fridge.
- Clear Blockages: Flush with warm water or use a pipe cleaner to remove debris.
If all components test correctly but the problem persists, there may be a wiring issue or a more complex control board fault requiring professional diagnosis.
Related: How to Use Diagnostic Modes for Appliance Troubleshooting?
DIY Fixes for Defrosting Issues
Once you’ve identified the faulty component, try these DIY solutions:
Replacing a Defrost Thermostat
- Order a Replacement: Use your refrigerator’s model number (found on a sticker inside the door or on the back) to order a compatible thermostat (typically $10-$30).
- Remove the Faulty Thermostat: Disconnect its wires and unclip it from the evaporator coils.
- Install the New Thermostat: Clip the new thermostat in place and reconnect the wires exactly as they were (refer to your photos).
- Test: Run a cycle and check for frost buildup after 24 hours.
Replacing a Defrost Heater
- Order a Replacement: Purchase a heater specific to your model ($20-$50).
- Remove the Old Heater: Disconnect the wires and unscrew or unclip the heater from the coils.
- Install the New Heater: Secure the new heater and reconnect the wires.
- Test: Monitor the fridge for proper defrosting over 24-48 hours.
Replacing a Defrost Timer
- Order a Compatible Timer: Mechanical timers cost $20-$60; ensure it matches your model.
- Remove the Old Timer: Disconnect the wires and remove the timer from its housing.
- Install the New Timer: Connect the wires to the new timer and secure it in place.
- Test: Run a cycle and manually advance the timer to confirm the defrost cycle activates.
Clearing a Clogged Drain
- Flush the Drain: Pour warm water mixed with a small amount of baking soda through the drain tube to clear debris.
- Check the Drain Pan: Ensure the pan under the fridge isn’t overflowing, which could indicate a persistent clog.
Cleaning and Maintenance
- Clean the Coils: Dust or debris on the evaporator or condenser coils (at the back or bottom of the fridge) can reduce efficiency. Use a soft brush or vacuum to clean them.
- Check Door Seals: Worn seals can let warm air in, causing frost buildup. Clean seals with warm, soapy water and replace if damaged.
Related: Why an Error Codes List Is Crucial for Maintenance?
When to Call a Professional
While many defrosting issues can be resolved with DIY methods, some situations require expert intervention:
- Faulty Control Board: Electronic control boards are complex and require specialized tools to diagnose and repair.
- Persistent Frost Buildup: If frost returns after replacing components, there may be an underlying issue, such as a wiring fault or refrigerant leak.
- Electrical Concerns: If you’re not comfortable testing or replacing electrical components, a professional ensures safety and accuracy.
- Complex Models: High-end or smart refrigerators may have intricate systems that require manufacturer-specific expertise.
At Tech-Angels.ca, our certified technicians specialize in refrigerator repairs, from simple thermostat replacements to complex control board diagnostics. We use high-quality parts and offer fast, reliable service across Canada to get your fridge back to optimal performance.
Preventing Future Defrosting Issues
To keep your refrigerator’s defrost system running smoothly:
- Clean Coils Regularly: Vacuum or brush the condenser and evaporator coils every 6 months to maintain efficiency.
- Check Door Seals: Inspect and clean seals monthly to prevent air leaks.
- Monitor Temperature Settings: Keep the freezer at 0°F/-18°C and the fridge at 37°F/3°C to avoid overworking the system.
- Schedule Maintenance: Annual professional check-ups can catch issues early, extending your fridge’s lifespan.
Benefits of Repairing vs. Replacing
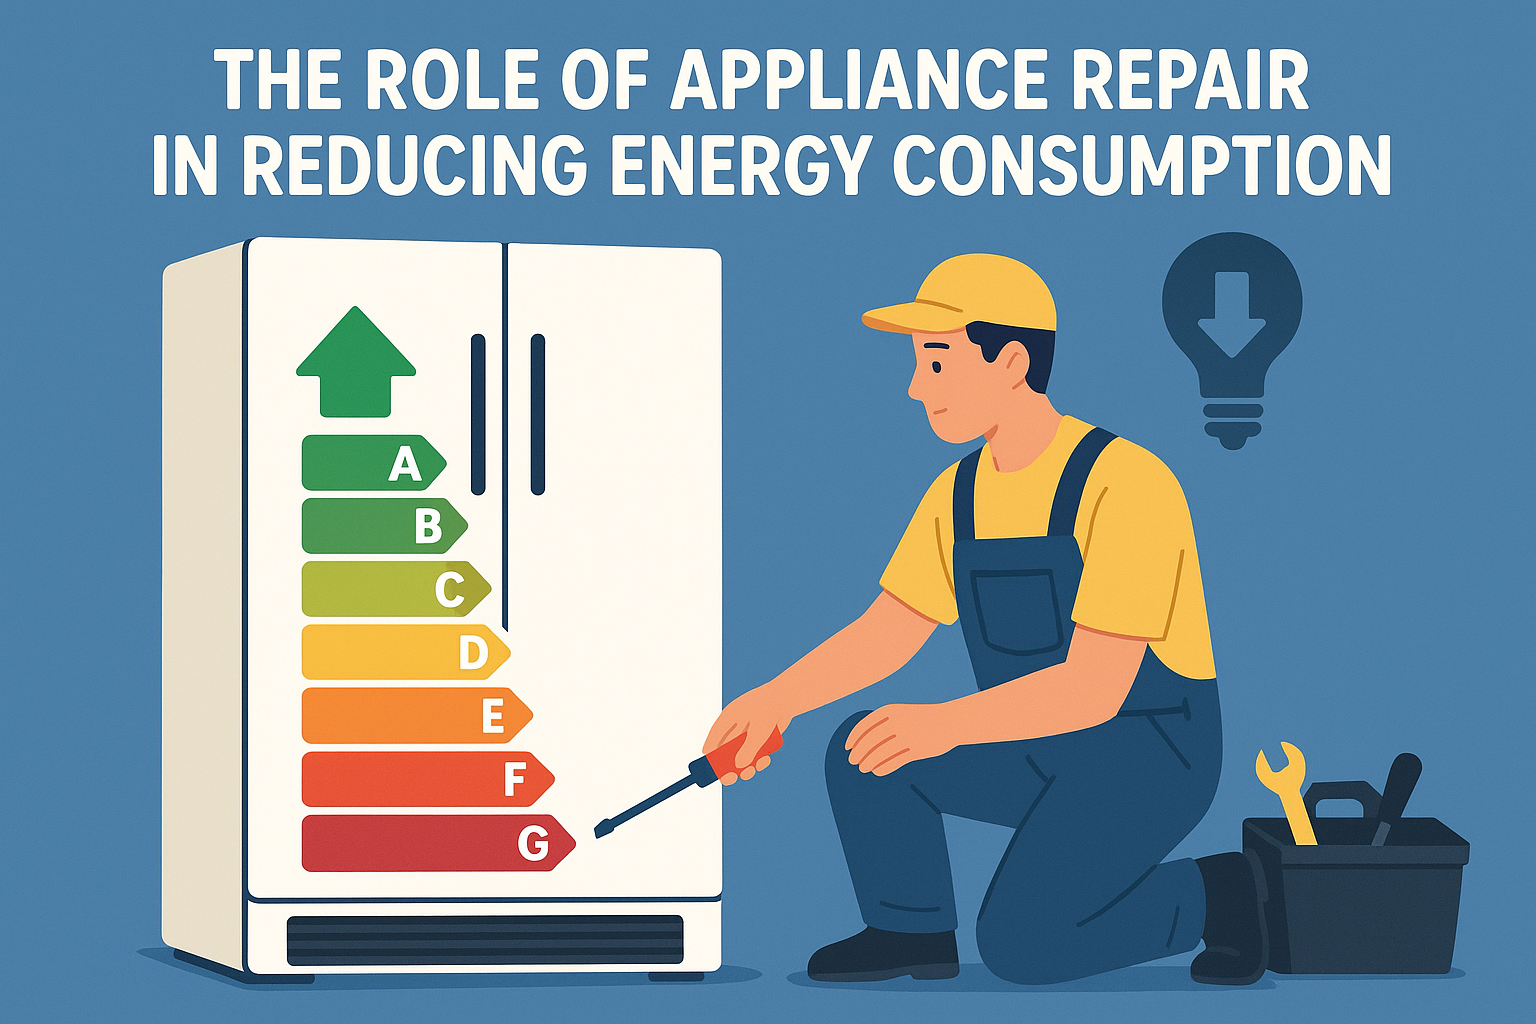
Repairing a refrigerator’s defrost system is often far more cost-effective than replacing the unit. A new refrigerator can cost $800-$2,500, while repairs typically range from $100-$400, including parts and labor. Repairs also reduce energy waste (a frost-covered fridge can increase energy use by 20%), saving you money on utility bills. Plus, keeping your appliance out of the landfill supports sustainability, aligning with eco-friendly practices.
How Tech-Angels.ca Can Help
At Tech-Angels.ca, we’re dedicated to helping you maintain your refrigerator with expert repair services. Our technicians are trained to diagnose and fix defrosting issues, using advanced tools and genuine parts to ensure lasting results. Our blog also offers tips on appliance maintenance to help you prevent future problems. Whether you need a quick fix or a comprehensive repair, we’re here to support you.
Conclusion: Keep Your Fridge Frost-Free
A refrigerator that’s not defrosting can disrupt your kitchen and inflate your energy bills, but with the right troubleshooting and DIY fixes, you can restore its performance. By addressing issues like a faulty thermostat, heater, or clogged drain, you can save money and extend your fridge’s lifespan. For complex repairs or peace of mind, Tech-Angels.ca is ready to provide professional service that gets your refrigerator back to keeping your food fresh and your kitchen running smoothly.
Don’t let frost buildup spoil your day. Try these DIY solutions, and if you need expert help, visit Tech-Angels.ca to schedule a repair or explore our resources for maintaining your appliances. Your frost-free fridge is just a fix away!


