Every modern appliance in your home — your refrigerator, dishwasher, oven, washer, and dryer — has a hidden diagnostic mode built into its electronic control board. This built-in testing system is the same tool professional technicians use to identify problems quickly, and the best part is you can access it yourself.
Diagnostic mode runs automated tests on individual components, reveals stored error codes from recent malfunctions, and helps pinpoint the exact source of a problem. In this guide, we’ll explain how diagnostic modes work across all major appliance types, how to access them, how to interpret the results, and when to hand things off to a professional.
What Diagnostic Mode Actually Does
When you activate diagnostic mode, the appliance’s control board runs through a systematic series of tests. Instead of operating normally (running a wash cycle, cooling food, heating the oven), the machine tests individual components in isolation. This might include activating and testing the door lock mechanism, cycling the water inlet valves open and closed, running the drain pump independently, testing the heating element, spinning the motor at various speeds, and checking sensor readings against expected values.
Each component test either passes or fails, and failures are reported as error codes. These codes are stored in the control board’s memory and can be retrieved even after the original malfunction has passed. This means diagnostic mode can reveal intermittent problems that seem to come and go — the kind of issues that are hardest to diagnose through observation alone.
Diagnostic Mode for Refrigerators
Refrigerator diagnostic modes typically test the compressor, evaporator fan, condenser fan, defrost system, temperature sensors, ice maker, and water dispenser. Here’s how to access diagnostic mode on common brands:
Samsung Refrigerators
Press and hold the Energy Saver and Fridge buttons simultaneously for about 8 seconds. The display will enter test mode. Use the Fridge button to scroll through different tests and the Energy Saver button to start each test. Pressing both buttons again exits diagnostic mode.
LG Refrigerators
Press and hold the Refrigerator and Ice Plus buttons simultaneously for 5 seconds. The display will show stored error codes. You can also use the LG ThinQ app’s Smart Diagnosis feature for a more user-friendly experience.
Whirlpool Refrigerators
Press the door switch three times within 10 seconds, then close the door. The control board will cycle through component tests automatically. Open the door to see error codes displayed.
If your refrigerator has been running warm, making odd noises, or showing error codes, diagnostic mode can help identify whether it’s a sensor, fan, defrost, or compressor issue. For more troubleshooting tips, check out our guide on the 10 warning signs your refrigerator is about to fail.
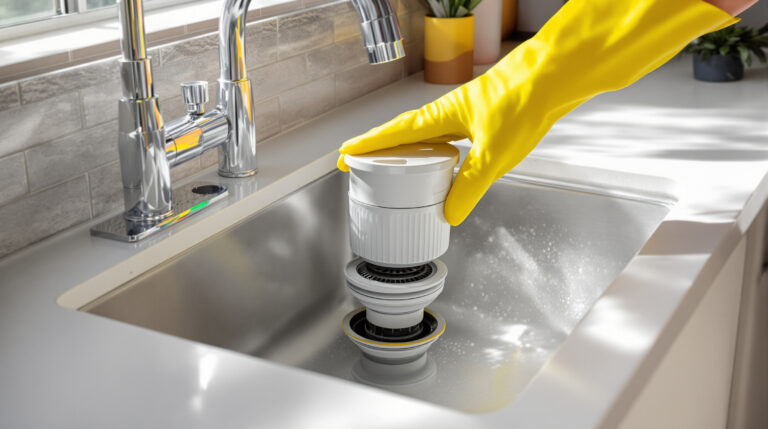
Diagnostic Mode for Dishwashers
Dishwasher diagnostics focus on the wash pump, drain pump, water inlet valve, heating element, thermistor, and detergent dispenser.
Bosch Dishwashers
Close the door. Press and hold the Start button for 3-5 seconds. Release it when the display changes. Some models require pressing a combination of buttons in sequence — consult your manual for the exact method.
Samsung Dishwashers
With the door closed and the machine off, press and hold the Heavy and Delay Start buttons simultaneously, then press Power. The machine enters test mode and begins cycling through component tests.
Whirlpool/KitchenAid Dishwashers
Press the following button sequence: Heated Dry, Normal, Heated Dry, Normal within 6 seconds. The dishwasher will enter diagnostic mode and run through component tests automatically, displaying any error codes.
For persistent dishwasher issues like poor cleaning, failure to drain, or error codes, diagnostic mode pinpoints the specific failing component and saves guesswork.
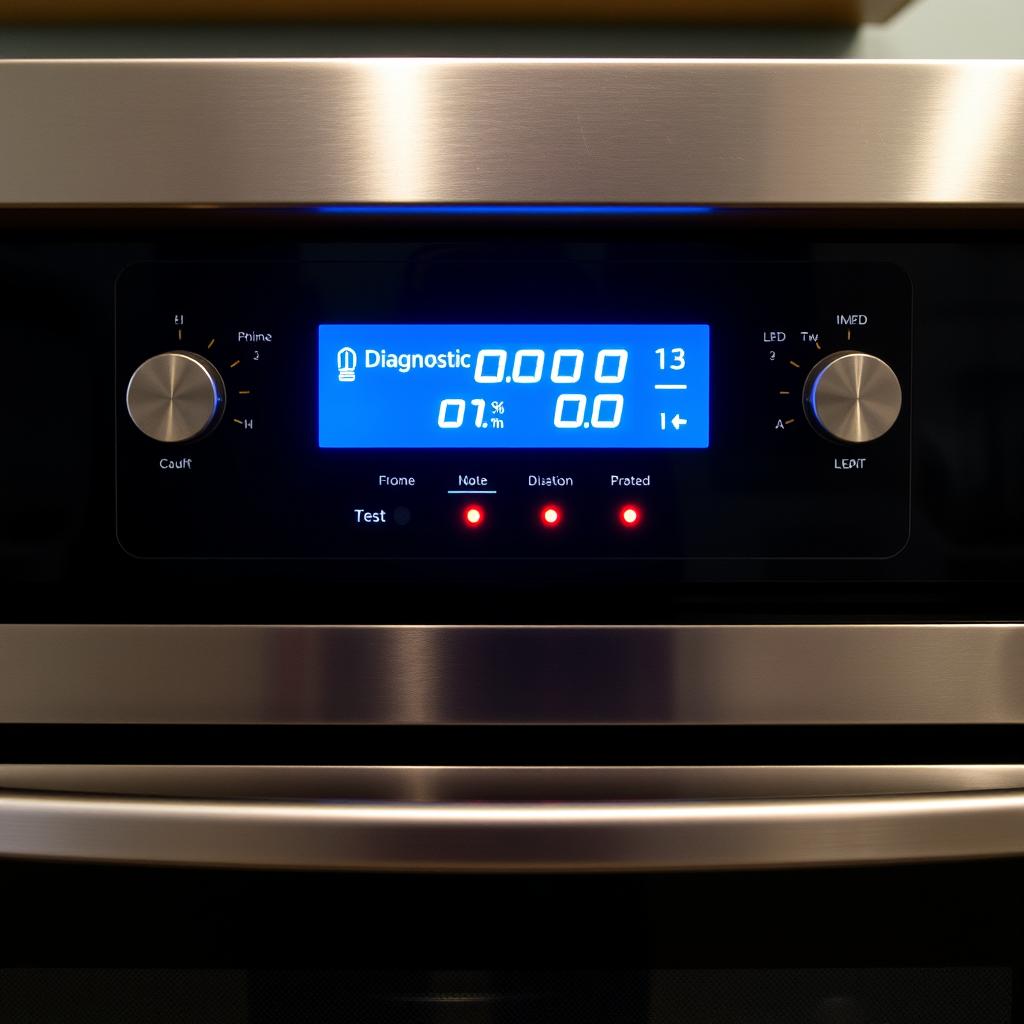
Diagnostic Mode for Ovens and Ranges
Oven diagnostics test the bake and broil elements, temperature sensors, door lock mechanism, convection fan, and control panel inputs.
Samsung Ovens
Press and hold the Bake and Broil buttons simultaneously for 3 seconds. The oven enters test mode. You can cycle through tests using the temperature arrow buttons.
GE/GE Profile Ovens
Press Bake and Broil simultaneously. When the display shows “SF,” press Start to begin diagnostics. The oven will cycle through testing each element and sensor.
Whirlpool/Maytag Ovens
Enter by pressing specific button combinations (often varies by model). Common method: press and hold any three buttons in sequence three times within 8 seconds, similar to their washing machine diagnostic entry.
If your oven isn’t heating properly or shows error codes, diagnostic mode helps determine whether it’s a sensor, element, or control board issue. See our article on common oven problems and when to call a professional for more guidance.
Diagnostic Mode for Dryers
Dryer diagnostics test the motor, heating element or gas valve, thermistors, moisture sensors, drum rotation, exhaust system, and door switch.
Samsung Dryers
Press and hold Dry Level and Time buttons simultaneously, then press Power. The dryer enters test mode. Component tests can be cycled through using the selector buttons.
LG Dryers
Press and hold the Temp and Dry Level/Time Dry buttons together for 3 seconds. The display shows “In5” or “tE5” to indicate test mode. Smart Diagnosis via the ThinQ app is also available.
Whirlpool/Maytag Dryers
Similar to their washers — select three buttons and press them in sequence three times within 8 seconds. The control panel will illuminate all indicators and cycle through component tests.
For dryer problems like inadequate heating, excessive drying times, or loud noises, diagnostic mode helps isolate the specific component at fault. Don’t forget to also check your dryer vent — read our dryer maintenance guide.
How to Read and Record Error Codes
When diagnostic mode reveals error codes, here’s how to make the most of that information:
- Write everything down. Error codes can scroll quickly or disappear. Have a pen and paper ready before entering diagnostic mode.
- Look up codes in your manual. Your owner’s manual has a section listing error codes and their meanings. If you’ve lost the manual, search for your model number on the manufacturer’s website.
- Note the sequence. Some machines display multiple codes. The order can indicate which failure occurred first (the root cause) versus secondary failures (consequences of the first).
- Take video. If codes are scrolling on the display, recording a video with your phone is an easy way to capture everything without rushing.
After Diagnosis: What to Do Next
Once you have your error codes and test results, you can take one of three approaches:
DIY Repair
If the diagnostic points to a simple issue — a clogged filter, a loose connection, or a component you’re comfortable replacing — go ahead and fix it yourself. Clean the filter, tighten the connection, or order the replacement part and install it.
Informed Service Call
When the repair is beyond your comfort level, your diagnostic findings are incredibly valuable to a repair technician. Providing specific error codes and test results means the technician can arrive prepared with the likely parts, potentially completing the repair in a single visit instead of two.
Clear and Monitor
Some error codes reflect one-time events that have already resolved. Most appliances allow you to clear stored codes through diagnostic mode. If the codes don’t return, the issue may have been transient (a temporary power fluctuation, a one-time unbalanced load, etc.).
Safety Considerations
Diagnostic mode is safe when used properly, but keep these points in mind:
- The appliance will activate components during testing — motors will spin, valves will open, elements will heat. Keep hands, clothing, and children clear.
- Water may flow during dishwasher and washer tests. Ensure drain hoses are connected and supply lines are open.
- Don’t interrupt tests midway. Let each test complete before advancing to the next.
- If at any point you smell burning, see sparks, or notice anything that seems dangerous, exit diagnostic mode immediately by unplugging the machine.
When to Call a Professional
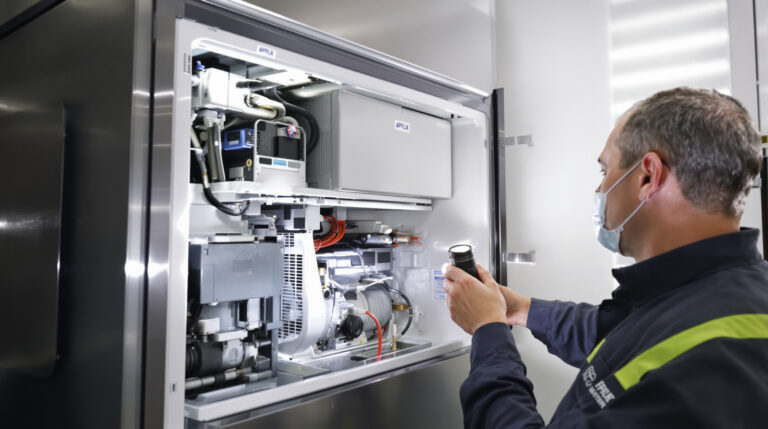
Diagnostic mode empowers you to understand what’s wrong, but some repairs are best left to professionals. Call Tech Angels Appliance Repair when diagnostic results point to control boards, sealed refrigerant systems, motor replacements, or complex electrical issues. Our certified technicians have the tools and training to handle these repairs safely and correctly.
Reach us at (604) 265-3565 or book online. We serve the entire Greater Vancouver area with next-day service availability.
Final Thoughts
Diagnostic mode transforms you from someone who just knows “something is wrong” into someone who knows exactly what’s wrong and can make an informed decision about what to do next. It’s a powerful tool hiding in plain sight on every modern appliance — and once you know how to use it, you’ll never look at a malfunctioning appliance the same way again.