Sometimes the best of the trash compactor can stop working out of nowhere, and you can find a metal rod jammed inside. Don’t worry, this is not that difficult. It is actually a usual problem that can be a little inconvenient, and frustrating. That’s why you should know how to diagnose and fix this problem. This will easily save you from the hassle of calling a repair service. Metal rods in trash compactors are among the most common causes of mechanical failures. So, learning and understanding the fix is the best way out. With proper knowledge, this will be super easy. Today, we are going to help you fix your household trash compactor.
Your Trash Compactor’s Mechanism
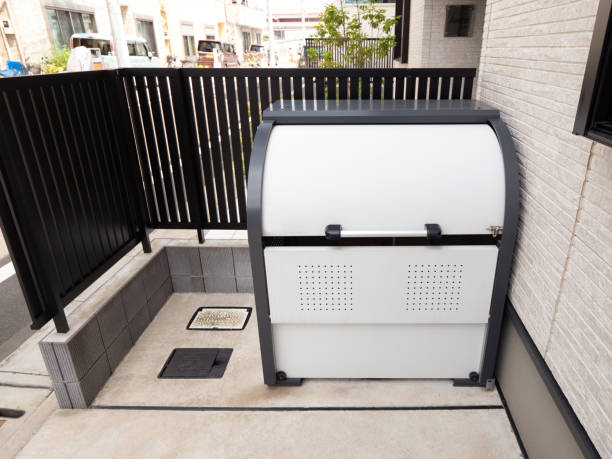
The household trash compactor works on precise mechanical movements. At the core, it uses a powerful motor-driven ram to compress the waste into small bundles. This ram, then, moves with the metal tracks which puts pressure to reduce the garbage size up to 75%. This compression system includes important parts like the ram plate, guide tracks, safety switches, and the motor assembly. But, when objects like metal rods interfere with the whole process, it can malfunction and disturb the whole process. You should know about the basic mechanics to identify the potential problems before they turn into major issues.
Related: How to Use a Wiring Image to Solve Connection Problems in Appliance
Common Signs of Metal Rod Interference
There are a lot of warning signs of metal rod interference in a household trash compactor that homeowners should learn to identify. The first and most noticeable sign is the unusual grinding or scraping sounds when it is working, especially when the ram is going down. The compactor can also stop mid-cycle, struggle to complete a compression cycle or display error codes on modern models. Mostly metal-on-metal contact leaves visible scratch marks on the ram plate or drawer walls. Along with this, the household trash compactor also takes more power than usual, which can cause circuit breakers to trip. Because of this, the drawer can become difficult to open or close smoothly and the compression cycle might take longer than normal. All of these things often mean that there is a stuck metal rod in trash compactor.
Safety Precautions Before Repairs
Before you start going in to repair your household trash compactor, you need to be safe to avoid injuries and other damages.
- Start by disconnecting the power supply by unplugging the unit and turning off the circuit breaker.
- After this, remove any collected garbage and clean the visible areas to prevent exposure to any kind of bacteria.
- You should also keep children and pets away from your work area, and wear protective gloves so that you can easily handle sharp metal parts.
- Along with these make sure you have good lighting for inspection.
- Keep a basic tool kit near you, including pliers, screwdrivers, and a flashlight.
- Having a lot of cleaning supplies ready will also be good as you can maintain hygiene during the whole repair process.
Step-by-Step Troubleshooting Process
You need to have a systematic approach to repair the metal rod issues in a household trash compactor. It will save you time and avoid any kind of additional damage.
- Start with a thorough visual inspection of the drawer’s tracks and corners and other common places where rods are stuck.
- Check the ram mechanism for any visible damage. Pay special attention to the areas where the ram meets the drawer’s walls.
Modern compactors mostly have diagnostic systems that can pinpoint problems with the help of error codes. In this troubleshooting process, you should also check the drawer’s alignment because the metal rods can force some parts out of position. Listen if there are any noises when you move them.
Related: When to Check and Calibrate Your Moisture Sensors for Accuracy
Removing a Stuck Metal Rod
Extracting a metal rod from a household trash compactor needs all your attention so that there are no more complications. So, if the rod is visible and accessible, then carefully remove it using long-nose pliers or other similar tools. Just make sure to not damage its surrounding parts. If the rod is deeply wedged, remove the drawer. Most of the household trash compactors have removable drawers designed for maintenance purposes. Some cases need partial disassembly of the ram. But, this should only be done when you have the proper knowledge and tools. Don’t force the removal, it can cause damage to other parts. Instead, try approaching the rod from different angles or check the user manual for the manufacturer’s guidance.
Assessing and Repairing Damage
Once you have removed the metal rod from the household trash compactor, just thoroughly check for damage. Start by examining the ram plate and drawer tracks for scratches, dents, or misalignment. If there are minor scratches, it is okay as they don’t affect the performance. But, if there are deeper gouges then you would need a technician to look at it. You should also check the drawer’s sliding mechanism and make sure it moves smoothly without catching or grinding. With this, check the compactor’s movement without power to see if there are any other mechanical issues. Pay attention to the seal around the drawer, sometimes having damage there can affect the compression ability of the compactor. Apart from all this, document any damage if you find it, as it will help you understand whether professional repair is needed. You can also use it for warranty claims.
Related: Why is Thermistor Resistance Important for Accurate Temperature Readings?
When to Call Professional Help
Even though metal rod in trash compactors can be easily taken out through DIY, there can be some situations where you might need to call a professional. If there is complicated internal damage, especially to the motor or electrical components, it needs to be looked at by a professional. Your household trash compactor would give you signs that would indicate the need for a technician like:
- Continuous unusual noises after rod removal
- Failure to complete the compression cycle
- Visible damage to the important parts.
If the compactor shows any signs of electrical problems like tripping circuit breakers or burning smells, stop using it immediately and call a qualified technician from Tech Angels. We have a skilled team who has experience.
Maintenance Tips
Regular and good maintenance can do wonders for your household trash compactor like extend its lifespan and prevent complications with metal rods and other things. Make sure to have a monthly inspection routine that focuses on the ram mechanism, tracks, and drawer parts to catch potential issues early on. You should clean the compactor’s interior thoroughly, paying special attention to the corners and crevices where things can get stuck. Make sure to lubricate the moving parts according to your appliance’s specifications every 3 to 6 months for smoothness. Also, check and tighten any loose screws or bolts, as these will give you alignment issues. Regular cleaning of the seal around the drawer will prevent any buildup.
Related: What Tools Can Help You Fix General Troubleshooting Issues in Appliances?
Conclusion
By following these guidelines and taking care of your household trash compactor, it will stay with you for longer years smoothly. You simply have to understand and identify the signs of metal rod interference and know how to address these issues promptly to prevent any serious problems. Just remember that proper maintenance and carefully using the appliances will help in reducing all these issues. This metal rod in the trash compactor trouble can be easily fixed by you, but if the situation feels out of hand, then just give Tech Angels a call and we will be right there with you to help!


