You’ve done your research, compared models, and invested in a quality new appliance. But the story doesn’t end at purchase — how that appliance is installed plays a surprisingly large role in how long it lasts, how well it performs, and how much it costs to operate. Improper installation is one of the leading causes of premature appliance failure, and the problems it creates often don’t surface until months or years later.
In this guide, we’ll cover the critical installation requirements for each major appliance type and explain why cutting corners during setup can cost you far more in the long run.
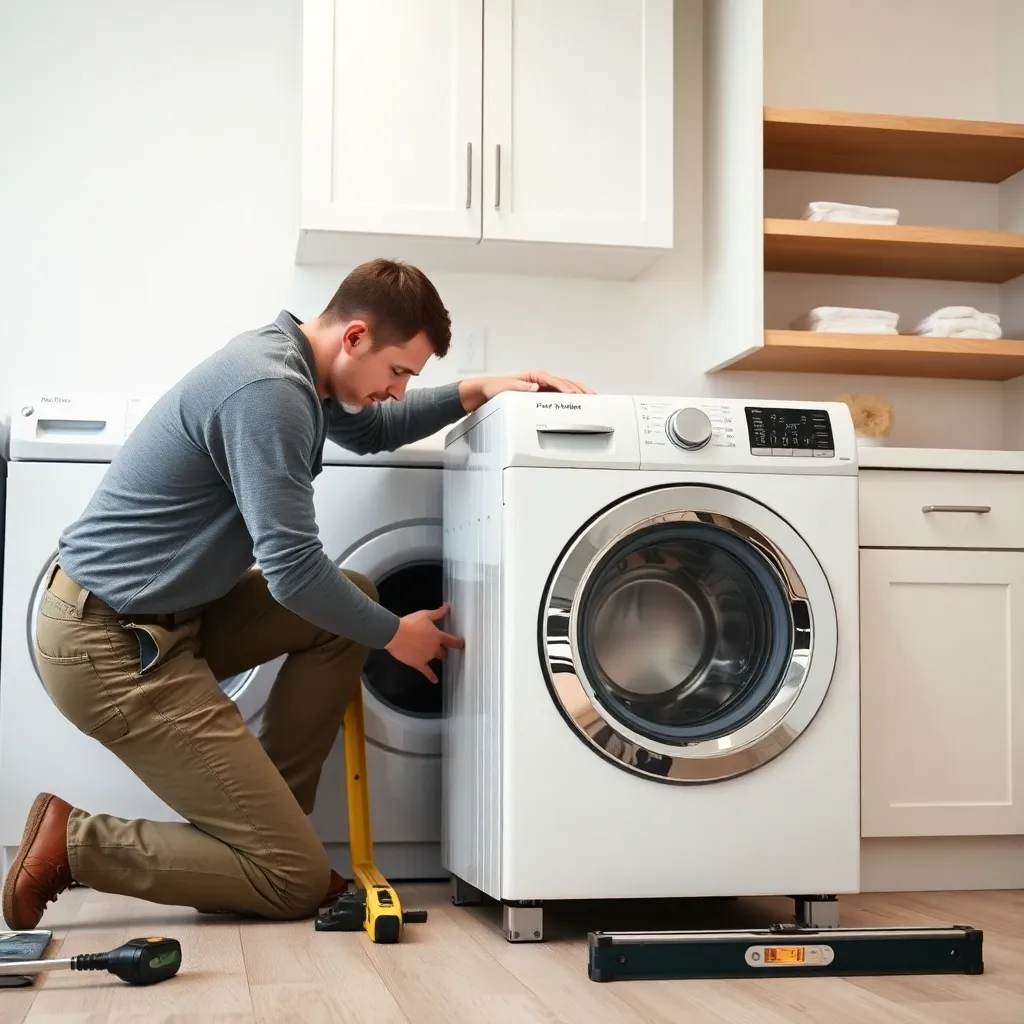
Washing Machine Installation
Levelling
A washing machine that isn’t perfectly level will vibrate excessively during spin cycles. This constant vibration accelerates wear on drum bearings, shock absorbers, suspension springs, and motor mounts. Over years, an unlevel machine can lose 2-3 years of useful life compared to a properly levelled one. Use a bubble level on top of the machine and adjust all four feet until it’s perfectly balanced. Lock the feet in place with the locking nuts.
Water Supply Connections
Use braided stainless steel hoses instead of the rubber hoses that often come with the machine. Braided hoses are far more resistant to bursting — and a burst washer hose can release hundreds of litres of water, causing catastrophic damage. Ensure connections are hand-tight plus a quarter turn with pliers — overtightening damages gaskets.
Drain Hose Height
The drain hose must rise to the height specified in the installation manual (typically 60-90 cm) before descending to the drain pipe. Too low and water siphons out during the wash cycle. Too high and the pump strains to push water up. Both shorten the pump’s life.
Dryer Installation
Ventilation
Proper dryer venting is the single most important installation factor for both performance and safety. Use rigid metal duct (not flexible foil or plastic), keep the run as short and straight as possible, ensure the exterior vent flap opens freely, and never vent indoors. A poorly vented dryer runs longer, uses more energy, overheats, and creates a fire hazard. Read our dryer maintenance tips for more.
Electrical Connection
Electric dryers require a dedicated 240V circuit with the correct amperage and plug type. Using the wrong cord or circuit can damage the dryer and create a fire hazard.
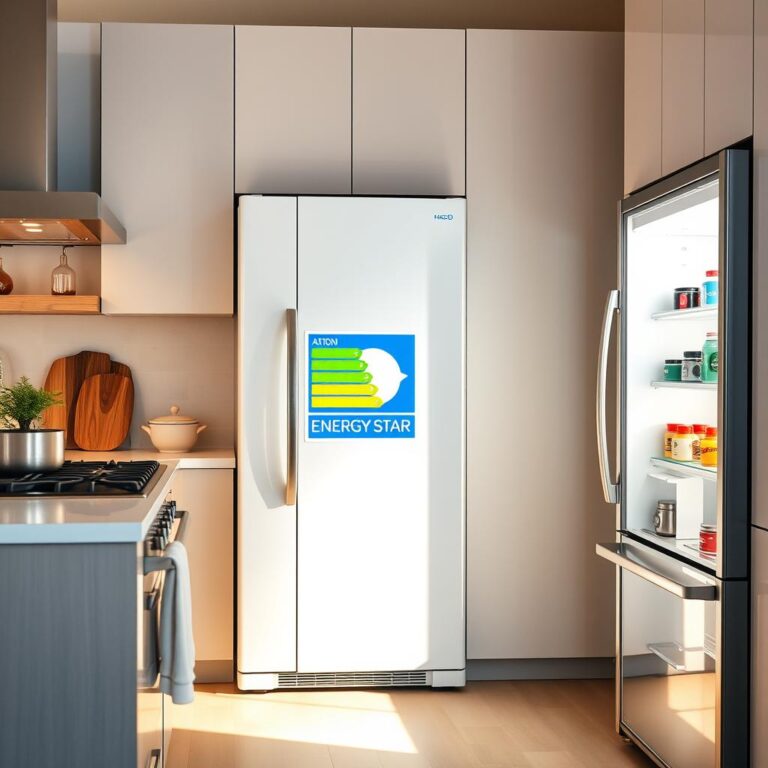
Refrigerator Installation
Clearance
Refrigerators need adequate clearance around them for heat dissipation — typically 2-5 cm on the sides and 2-5 cm at the back. Insufficient clearance forces the condenser to work harder, increasing energy consumption and shortening compressor life.
Levelling
A refrigerator needs to be level side-to-side and slightly tilted backward (front legs slightly higher). This ensures the doors close properly under their own weight, the defrost drain functions correctly, and the compressor operates in its designed orientation.
Water Line
If your fridge has an ice maker or water dispenser, the water line connection must be properly sealed and the shut-off valve accessible. A slow drip from a poorly connected water line can cause hidden water damage behind the fridge for months before you notice.
Dishwasher Installation
Drain Hose Routing
The drain hose must have a high loop (reaching countertop height) or connect through an air gap to prevent backflow from the sink into the dishwasher. Without this, dirty sink water can contaminate your clean dishes and damage the dishwasher pump.
Securing to the Countertop
Dishwashers must be secured to the underside of the countertop with mounting brackets. An unsecured dishwasher can tip forward when the door is opened with a heavy rack extended, posing an injury risk and potentially damaging the floor and unit.
Levelling
An unlevel dishwasher won’t drain completely, leading to standing water, odors, and premature pump wear. It can also cause the door not to seal properly, resulting in leaks.
Oven and Range Installation
Anti-Tip Bracket
Every freestanding range should be secured with an anti-tip bracket — a simple metal piece that screws to the floor behind the range and prevents the unit from tipping forward if weight is applied to the open door. This is a critical safety installation that prevents serious injury, especially in homes with children.
Clearance Requirements
Ranges need specific clearances from combustible surfaces — walls, cabinets, and overhead materials. These clearances vary by model and are specified in the installation manual. Insufficient clearance creates a fire risk from radiated heat.
The Cost of Improper Installation
- Premature component failure: Vibration from an unlevel washer, overheating from a blocked dryer vent, or compressor strain from insufficient fridge clearance all shorten component life.
- Increased energy costs: Improperly installed appliances work harder and consume more energy.
- Water damage: Leaking connections, improper drain hose routing, and burst hoses cause expensive water damage.
- Voided warranty: Many manufacturers require professional or code-compliant installation as a warranty condition.
- Safety hazards: Fire, flooding, tipping, and electrical hazards all increase with improper installation.
Professional Installation vs. DIY
Some installations are straightforward DIY projects (replacing a washing machine in an existing hookup, for example). Others — especially those involving electrical connections, plumbing modifications, or venting — are best handled by professionals. When in doubt, invest in professional installation. The cost is modest compared to the potential cost of problems caused by improper setup.
At Tech Angels Appliance Repair, we help customers with appliance installation, connection, and setup throughout the Greater Vancouver area. Call (604) 265-3565 to make sure your new appliance starts its life on the right foot.
Final Thoughts
Proper installation is the first and most important maintenance step for any new appliance. It sets the foundation for everything that follows — performance, efficiency, safety, and longevity. Take the time to do it right (or hire someone who will), and your appliances will reward you with years of reliable service.