If your dryer has been running longer than it should, leaving clothes damp at the end of a cycle, or shutting off too early while clothes are still wet, the problem might not be your heating element or vent — it might be your moisture sensors. These small but essential components tell your dryer when clothes are dry, and when they’re not reading accurately, it throws off the entire drying cycle.
In this guide, we’ll explain what dryer moisture sensors are, how they work, signs that they need attention, how to clean and test them, and when it’s time to call a professional for calibration or replacement.
What Are Dryer Moisture Sensors?
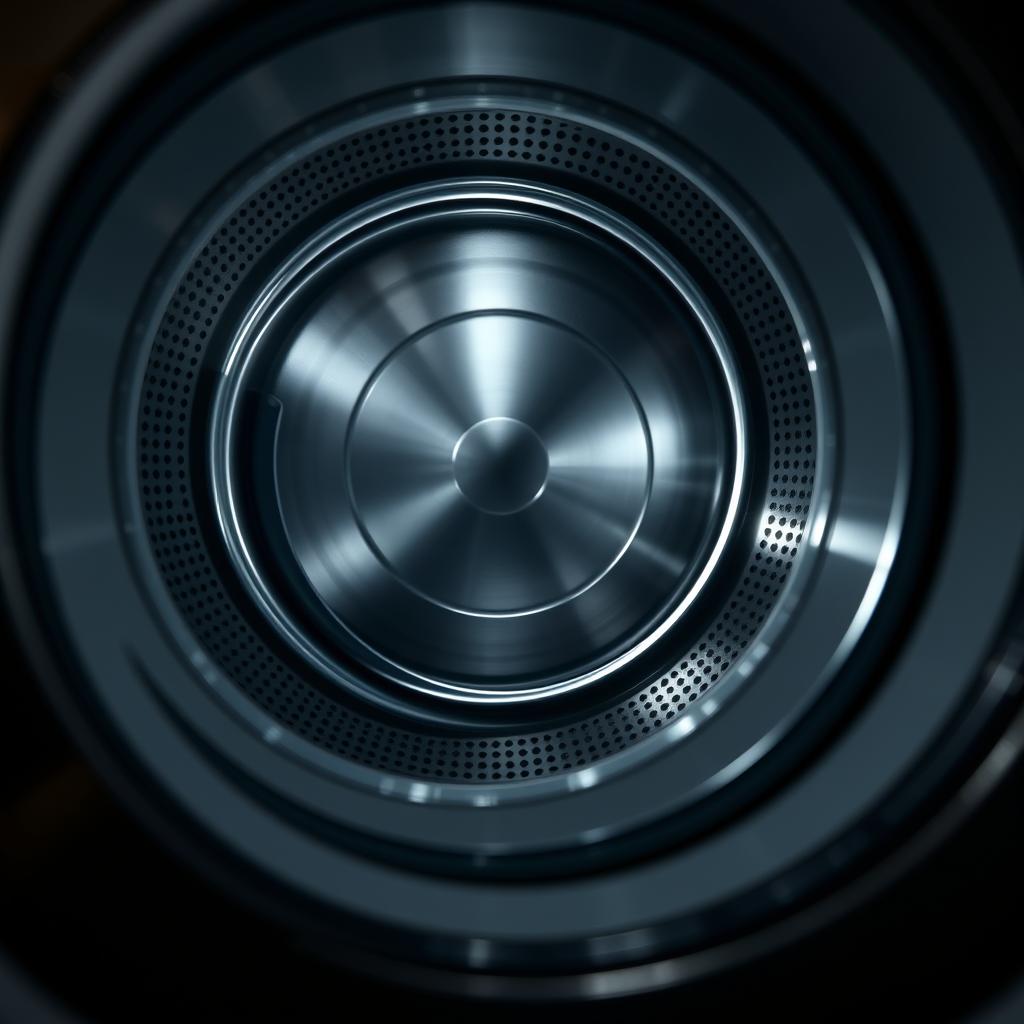
Moisture sensors (also called moisture bars or dryness sensors) are two thin metallic strips mounted inside your dryer drum, usually located on the front wall below the door opening or near the lint trap. As clothes tumble and make contact with these metal strips, the sensors measure the electrical conductivity of the fabric.
Here’s the basic principle: wet fabric conducts electricity better than dry fabric. When clothes are damp, they create an electrical connection between the two sensor bars. As clothes dry, conductivity decreases. When the sensor readings drop below a certain threshold, the dryer’s control board determines that clothes are dry and ends the cycle.
This is the technology behind the “auto-dry” or “sensor dry” cycles that most modern dryers offer. Unlike timed cycles that run for a fixed duration regardless of how wet the clothes are, sensor-based cycles adjust automatically — saving energy and preventing over-drying.
Signs Your Moisture Sensors Need Attention
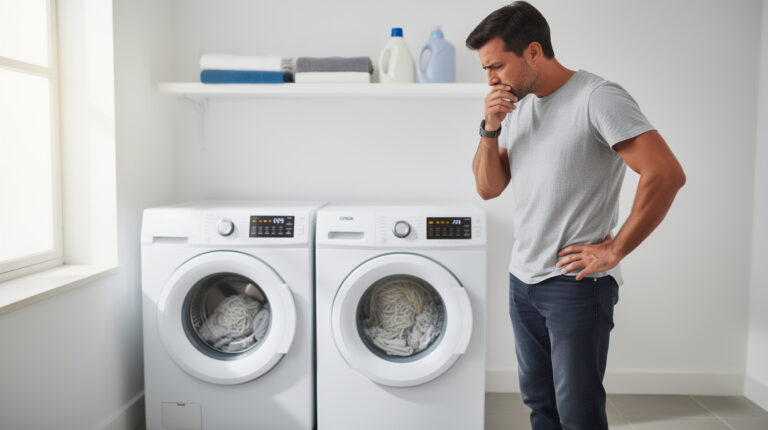
When moisture sensors aren’t reading accurately, you’ll notice one or more of these symptoms:
- The dryer stops too early. Clothes are still damp when the sensor cycle ends. This happens when residue on the sensor bars creates a false “dry” reading.
- The dryer runs too long. Even when clothes feel dry, the dryer keeps going. This can happen when sensor bars are damaged, corroded, or the control board is misinterpreting the signals.
- Inconsistent drying results. Some loads come out perfectly, while others are under-dried or over-dried with no apparent reason.
- Higher energy bills. If the dryer consistently runs longer than necessary, you’re paying for energy you don’t need to use.
- Clothes feel over-dried and stiff. Over-drying damages fabrics, causes shrinking, and creates static. If your clothes consistently come out feeling crunchy or overly hot, the sensors may be telling the dryer to run longer than it should.
The #1 Cause of Sensor Problems: Residue Buildup
The most common reason dryer moisture sensors lose accuracy is buildup from dryer sheets and fabric softener. These products leave a thin, invisible film on everything they touch — including the sensor bars inside the drum.
Over time, this waxy residue coats the sensor bars and acts as an insulator, preventing the sensors from making proper electrical contact with damp clothes. The result is that the dryer “thinks” clothes are dry before they actually are, cutting the cycle short.
This is why many appliance experts recommend using liquid fabric softener in the washer instead of dryer sheets — or using wool dryer balls as a chemical-free alternative. If you do use dryer sheets, regular sensor cleaning becomes even more important.
How to Clean Dryer Moisture Sensors
Cleaning the sensors is a quick DIY task that can dramatically improve drying performance. Here’s how:
What You’ll Need
- Rubbing alcohol (isopropyl alcohol)
- A soft cloth or cotton ball
- Fine-grit sandpaper (optional, for heavy buildup — 220-grit or finer)
Step-by-Step Cleaning
- Step 1: Locate the sensor bars inside the drum. They’re usually two parallel metal strips mounted just inside the front of the drum, below the door opening. On some models, they’re near the lint trap housing.
- Step 2: Dampen a soft cloth or cotton ball with rubbing alcohol.
- Step 3: Gently rub the sensor bars with the alcohol-dampened cloth. You should feel the surface become smoother as the residue dissolves.
- Step 4: For heavy buildup that alcohol alone can’t remove, very gently rub the sensor bars with fine-grit sandpaper. Use light pressure — you’re removing residue, not the metal itself.
- Step 5: Wipe the bars clean with a fresh cloth dampened with alcohol to remove any sanding residue.
- Step 6: Run a test load on a sensor/auto-dry cycle to see if performance has improved.
How Often to Clean
If you use dryer sheets regularly, clean the sensors every month. If you don’t use dryer sheets, every two to three months is sufficient. Make it part of your regular dryer maintenance routine — clean the sensors when you clean the lint trap housing.
How to Test Moisture Sensor Accuracy
After cleaning, you can test whether the sensors are reading accurately with this simple method:
- Put a small load of wet clothes in the dryer.
- Select a sensor/auto-dry cycle on the normal or medium heat setting.
- Monitor the cycle. It should run until the clothes are actually dry, then stop.
- Check the clothes immediately when the cycle ends. If they’re evenly dry, the sensors are working correctly. If they’re still damp, the sensors may need further cleaning or the issue is elsewhere.
For a more technical test, you can use a multimeter to check the resistance between the two sensor bars. With the dryer unplugged, disconnect the sensor wires and place the multimeter probes on the sensor bar terminals. A damp cloth draped over both bars should show low resistance (a few thousand ohms), while dry bars with no contact should show infinite resistance. If you get inconsistent or no readings, the sensors may be faulty.
When Cleaning Isn’t Enough: Sensor Calibration and Replacement
If cleaning the sensors doesn’t resolve the problem, the issue may be more involved:
Control Board Calibration
The dryer’s control board interprets sensor readings and decides when to end the cycle. If the control board’s sensitivity settings have drifted, it may misread even clean, functional sensors. Some models allow technicians to recalibrate the sensor sensitivity through the diagnostic or service mode. This typically requires manufacturer-specific knowledge and tools.
Damaged Sensor Bars
If the sensor bars are scratched, corroded, or physically damaged, they may need to be replaced. Sensor bars are relatively inexpensive parts, but accessing them may require partial disassembly of the dryer door or front panel. Replacement is straightforward for a professional technician.
Wiring Issues
The wires connecting the sensor bars to the control board can become loose, corroded, or damaged — especially in older dryers or those that have been moved or serviced previously. A technician can check the wiring harness for continuity and repair any compromised connections.
Other Factors That Affect Sensor Performance
Even with clean, properly functioning sensors, other issues can mimic sensor problems:
- Overloading: An overloaded dryer prevents clothes from tumbling freely and making proper contact with the sensor bars. Sensors only work when clothes actually touch them.
- Small loads: Very small loads may not make consistent contact with the sensors, causing erratic cycle times. If you’re drying a few items, use a timed cycle instead of auto-dry.
- Mixed fabrics: A load with both heavy towels and light synthetics may confuse the sensors because the different fabrics dry at different rates.
- Restricted airflow: A clogged lint trap, blocked dryer vent, or crushed vent hose reduces the dryer’s ability to extract moisture, making the sensors think clothes are wetter than they are. Always check airflow first — read our guide on dryer maintenance tips to prevent fires.
When to Call a Professional
Call a professional dryer repair technician when:
- Cleaning the sensors doesn’t improve drying performance.
- The sensors appear physically damaged or corroded.
- You suspect a control board calibration issue.
- The dryer has other concurrent symptoms (unusual noises, no heat, error codes).
- You’ve checked the vent system and it’s clear, but drying issues persist.
At Tech Angels Appliance Repair, our technicians carry professional diagnostic tools that can test sensor performance, check control board functions, and verify airflow measurements. We’ll give you a clear diagnosis and fix the problem right. Call us at (604) 265-3565 for service across Vancouver, Burnaby, Coquitlam, and the Lower Mainland.
Final Thoughts
Dryer moisture sensors are one of those components that quietly do their job until they don’t — and when they stop working accurately, the symptoms can be frustrating and expensive. The good news is that the most common sensor issue — residue buildup — takes about two minutes to fix with rubbing alcohol and a cloth.
Make sensor cleaning a regular part of your dryer maintenance routine, use dryer sheets sparingly (or switch to dryer balls), and don’t overload the machine. These simple habits keep your sensors reading accurately, your clothes drying evenly, and your energy bills where they should be.