If your dryer has developed a loud squealing, grinding, or rumbling noise — especially one that’s been getting progressively worse — there’s a good chance the drum bearing is worn out. The drum bearing supports the rear of the dryer drum and allows it to rotate smoothly. When it wears down, metal contacts metal, creating noise and potentially damaging other components if left unrepaired.
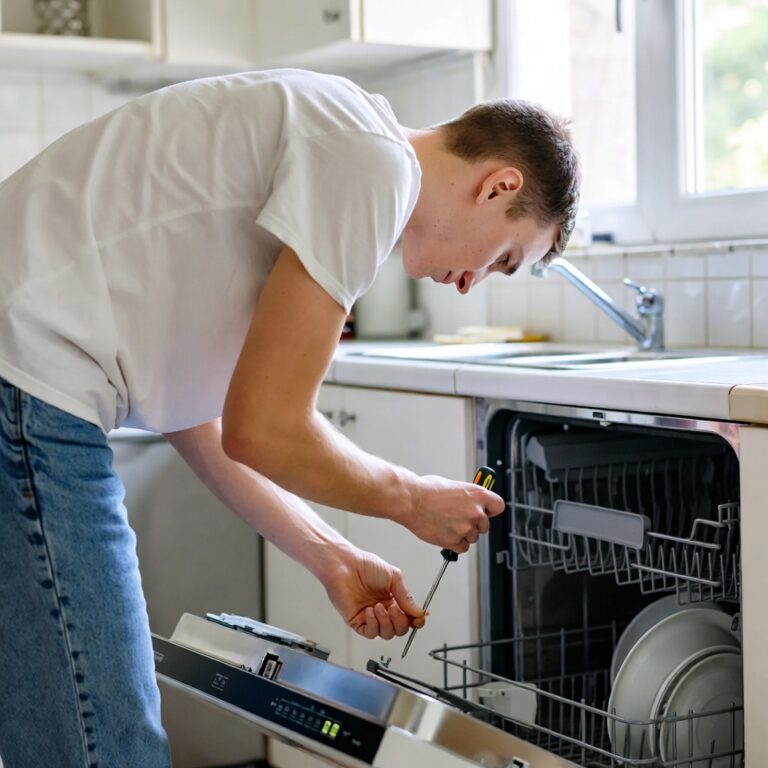
Replacing a dryer drum bearing is one of the more involved DIY appliance repairs, but it’s entirely achievable for a handy homeowner with basic tools and a few hours of patience. In this step-by-step guide, we’ll walk you through the entire process, from diagnosis to reassembly and testing.
Confirming the Drum Bearing Is the Problem
Before you commit to this repair, make sure the bearing is actually the issue. Here’s how to confirm:
- The noise is coming from the rear of the dryer. Drum bearings are located at the back of the machine. If the noise clearly originates from the back, a bearing issue is likely.
- The noise gets worse with heat. Metal expands when heated, and a worn bearing becomes louder as the dryer warms up during a cycle.
- Manual drum rotation test: With the dryer unplugged, open the door and try to rotate the drum by hand. It should spin smoothly and freely. If you feel resistance, grinding, or wobble, the bearing is likely worn.
- Drum lift test: Grab the top of the drum through the door opening and try to lift it. There should be very little play. If the drum lifts noticeably (more than a quarter inch), the rear bearing or support is worn.
What You’ll Need
Tools
- Phillips and flathead screwdrivers
- Socket wrench set (typically 5/16″ and 1/4″)
- Nut driver
- Needle-nose pliers
- Putty knife (for releasing top panel clips)
- Work gloves
- Smartphone or camera (for photographing wire connections)
Parts
- Replacement drum bearing kit (specific to your dryer model — includes the bearing, support, and sometimes screws and lubricant)
- It’s also wise to pick up a new drive belt and drum rollers while you’re in there — if they show any wear, you might as well replace them now rather than tear the dryer apart again later.
Step 1: Safety First
Unplug the dryer from the wall outlet. If it’s a gas dryer, also turn off the gas supply valve. Pull the dryer away from the wall to give yourself room to work on the back panel.
Step 2: Access the Drum
The exact disassembly process varies by brand and model, but here’s the general approach for most standard residential dryers:
Remove the Top Panel
- Remove the screws at the back of the top panel (usually two screws along the rear edge).
- Slide the top panel forward slightly, then lift it off. Some models use spring clips at the front instead — slide a putty knife into the seam between the top and front panels to release the clips.
Remove the Front Panel
- Disconnect any wire harnesses attached to the door switch.
- Remove the screws securing the front panel to the side panels (usually two at the top and two at the bottom or behind a lower kick plate).
- Carefully pull the front panel away from the machine and set it aside. The drum is now exposed from the front.
Step 3: Release the Drive Belt and Remove the Drum
- Reach under the drum and locate the drive belt. Note how it wraps around the motor pulley and idler pulley (take a photo for reference).
- Release tension on the belt by pushing the idler pulley toward the motor, then slip the belt off the motor pulley.
- With the belt released, carefully lift the drum out through the front of the dryer cabinet. This is where a helper comes in handy — dryer drums are bulky, if not especially heavy.
- Set the drum aside on a soft surface to avoid scratching it.
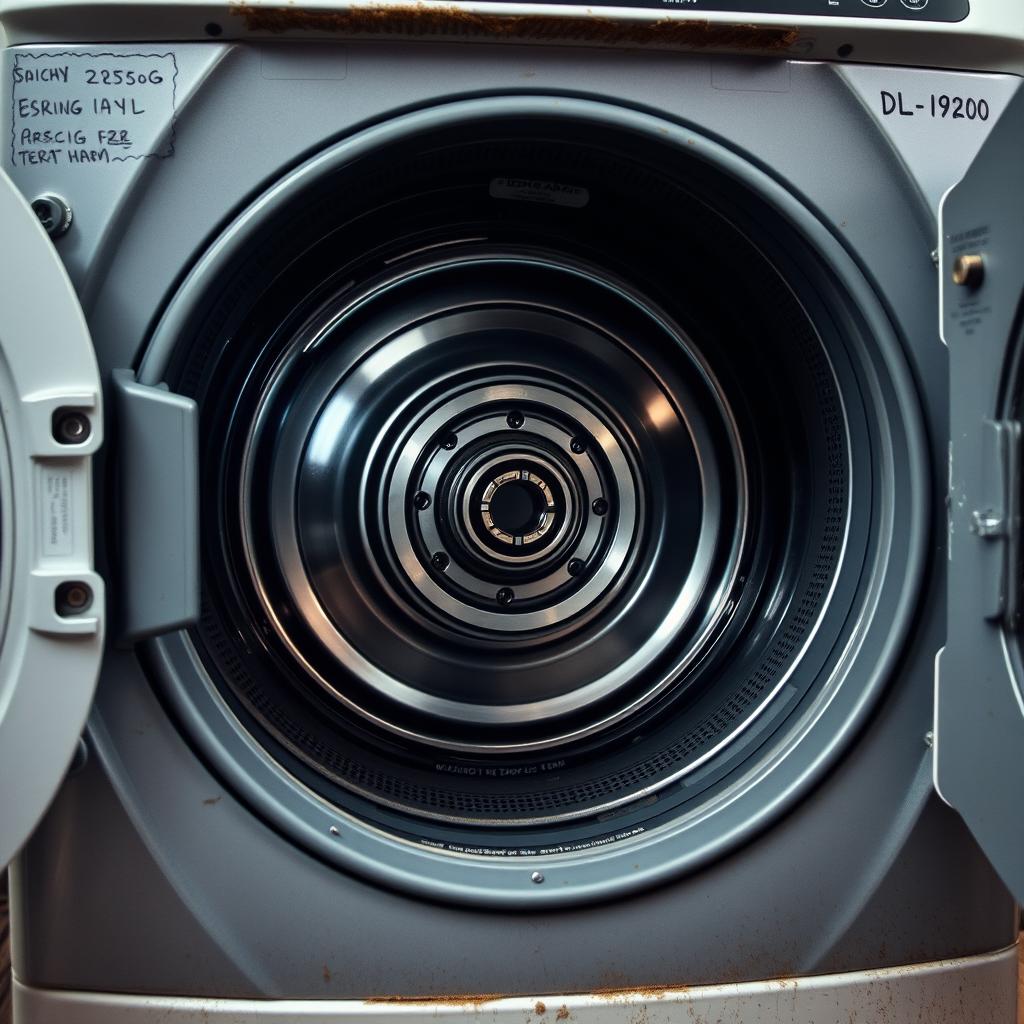
Step 4: Remove the Old Bearing
With the drum removed, you can see the rear bearing assembly. Depending on your dryer model, this might be:
- A ball-and-socket bearing: A ball attached to the rear of the drum sits in a socket mounted on the rear bulkhead of the dryer. Both pieces need to be replaced.
- A sleeve bearing: A shaft extends from the rear of the drum through a bearing sleeve mounted in the rear panel. The sleeve and sometimes the shaft need replacing.
- A bearing and support plate: A bearing sits in a support bracket bolted to the rear wall of the dryer.
Remove the old bearing components. For ball-and-socket types, the socket is typically held by screws on the rear bulkhead. For shaft bearings, the bearing sleeve pulls out or unbolts from the rear panel.
Inspect the area for signs of damage — discoloration from heat, metal shavings, or scoring on the drum shaft. Clean any debris before installing the new parts.
Step 5: Install the New Bearing
- Install the new bearing socket or sleeve in the rear panel, making sure it’s properly seated and secured with the provided screws.
- If your kit includes lubricant, apply it to the new bearing surface as directed.
- If you’re replacing a ball-and-socket type, attach the new ball to the rear of the drum (it usually presses or screws into place).
Step 6: Reinstall the Drum
- Lift the drum back into the dryer cabinet, aligning the rear bearing with its socket or support.
- Make sure the drum sits properly on the front drum glides and the rear bearing.
- Re-route the drive belt around the drum. The belt goes around the outside of the drum, then wraps under the idler pulley and around the motor pulley. Refer to the photo you took earlier.
- Test the drum rotation by hand — it should spin smoothly without grinding, wobble, or excessive play.
Step 7: Reassemble the Dryer
- Reattach the front panel, reconnecting the door switch wire harness.
- Replace and secure the top panel.
- Push the dryer back into position.
- Plug the dryer in (and turn the gas back on if applicable).
Step 8: Test Your Work
- Run the dryer empty for 5-10 minutes on a heat cycle.
- Listen for any unusual noises. The grinding or squealing from before should be completely gone.
- Check that the drum rotates smoothly and the dryer heats properly.
- Run a load of towels to verify normal operation under load.
Pro Tips for a Successful Repair
- Take photos at every step. Especially wire connections, belt routing, and the position of any brackets or springs you remove.
- Replace the belt and rollers while you’re in there. If the bearing is worn, the belt and rollers have the same mileage. Replacing them now saves you from repeating this disassembly.
- Order the exact part for your model. Bearings are not universal. Use your dryer’s model number (found on a sticker inside the door frame or on the back panel) to order the correct kit.
- Work on a flat, clean surface. Organize removed screws and small parts in labelled bags or containers so nothing gets lost.
When to Call a Professional Instead
While drum bearing replacement is a manageable DIY project, consider calling a professional dryer repair technician if:
- Your dryer model has an unusual design that makes disassembly more complex (some European brands, for example).
- You discover additional damage during the process, such as a warped drum shaft or heat damage to the rear panel.
- You’re not comfortable handling the drive belt and motor assembly.
- The noise persists after bearing replacement, suggesting the problem is elsewhere.
Tech Angels Appliance Repair handles dryer bearing replacements and all other dryer repairs across the Greater Vancouver area. Call us at (604) 265-3565 if you’d prefer expert hands on the job.
Final Thoughts
Replacing a dryer drum bearing is one of those satisfying DIY repairs that delivers immediate, obvious results — the awful noise disappears, and your dryer runs like new again. It takes a few hours and some basic mechanical confidence, but the cost savings compared to a professional repair or an entirely new dryer make it well worth the effort.
Just remember: safety first, take photos as you go, order the right parts, and don’t rush the reassembly. A carefully done bearing replacement can add many more years of quiet, reliable service to your dryer.