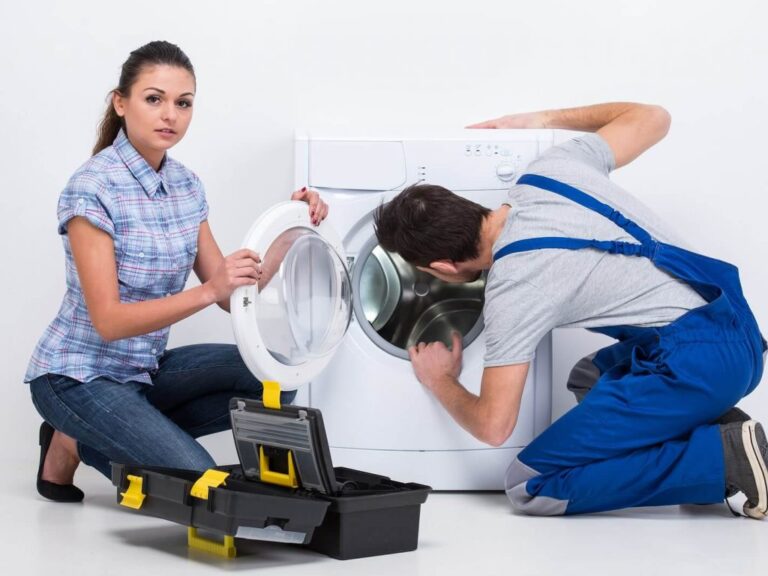
An appliance that’s not level might seem like a minor issue, but it’s actually a significant problem that affects performance, safety, and longevity. Whether it’s your washing machine vibrating violently during the spin cycle, your refrigerator not closing properly, or your dishwasher leaking, many appliance problems trace back to improper leveling. Learning how to level your appliances is a simple task that takes just a few minutes but can prevent costly repairs down the road. This guide covers everything you need to know about leveling different appliances, why it matters, and how to do it correctly.
Most appliances come with adjustable feet designed to level the machine on uneven floors. When you level your appliances properly, you ensure they operate at peak efficiency, reduce vibration and noise, and prevent stress on internal components. Refrigerators that aren’t level won’t close properly or maintain consistent temperatures. Washing machines that aren’t level bounce around violently and can damage floor surfaces. Dishwashers that tilt won’t drain properly, leaving standing water inside. The good news is that leveling is an easy task any homeowner can accomplish with basic tools.
Why Leveling Your Appliances Matters
Prevents Excessive Vibration and Noise
An unleveled washing machine or dryer vibrates excessively during operation, creating a tremendous noise that disturbs everyone in your home. This vibration isn’t just annoying—it’s damaging. Excessive vibration places stress on internal components, wearing them out faster and requiring premature replacement. By taking time to level your appliances, you’ll notice an immediate reduction in noise and vibration.
Ensures Proper Drainage
Dishwashers, refrigerators, and washing machines rely on gravity to drain properly. If these appliances aren’t level, water pools in low spots instead of flowing toward the drain. This standing water causes odors, bacterial growth, and mold development. Refrigerators that tilt backward instead of slightly forward won’t drain the defrost water properly, potentially causing water damage to your kitchen floor. Dishwashers must be perfectly level or slightly tilted toward the front to drain effectively during cycles.
Extends Appliance Lifespan
Unleveled appliances work harder than they should. Motors strain, pumps labor, and seals deteriorate prematurely. When you level your appliances correctly, you reduce unnecessary stress on all internal systems. This translates to fewer repairs, longer lifespan, and better performance overall. A properly leveled washing machine can last 15+ years with minimal issues; an unleveled one might fail after just 5-7 years.
Improves Door Closure and Seal
Refrigerators and dishwashers depend on proper sealing to maintain temperature and prevent water from leaking. If the appliance isn’t level, doors won’t close properly, seals won’t function correctly, and energy efficiency suffers. Cold air escapes from refrigerators, forcing the compressor to work harder and increasing your energy bills. Dishwasher doors that don’t seal allow water to escape during cycles.
How to Level Your Appliances: Step-by-Step Instructions
What You’ll Need
- A spirit level (4-6 feet long is ideal, though a 2-foot level works fine)
- A wrench or socket set (size depends on your appliance’s adjustment bolts)
- A helper (helpful but not always necessary)
- Shims (plastic wedges) for fine-tuning—optional but useful
- A flashlight to see underneath the appliance
Refrigerators: Front to Back and Side to Side
Refrigerators need to tilt very slightly forward (about a quarter-inch from front to back) so that doors close by gravity and defrost water drains toward the front. To level your refrigerator:
- Unplug the refrigerator and pull it away from the wall carefully
- Locate the front adjustable feet (usually two in front, sometimes one wheel on back)
- Place the level on top of the fridge, running front to back
- Adjust the front feet by turning them clockwise (to raise) or counterclockwise (to lower) until the level shows a very slight tilt toward the front
- Check side-to-side leveling by placing the level perpendicular to the front-to-back direction
- Some refrigerators have a rear wheel that can be adjusted for side-to-side leveling
- Plug the refrigerator back in and ensure doors close smoothly and seal completely
Don’t level refrigerators completely flat—that slight forward tilt is intentional and necessary for proper operation.
Washing Machines: Perfectly Level
Unlike refrigerators, washing machines should be perfectly level both front-to-back and side-to-side. An unleveled washer vibrates violently:
- Unplug the washing machine before adjusting
- Locate all four adjustable feet (usually at each corner)
- Place the level on top of the machine, running front to back
- Adjust front feet evenly until the level shows perfectly level
- Check side-to-side by rotating the level 90 degrees
- Adjust rear feet if needed to achieve perfect side-to-side leveling
- Plug the machine back in and run a test cycle to verify it runs quietly without excessive vibration
Take your time with washing machine leveling—it makes a dramatic difference in operation. For more information on washing machine maintenance, check out our guide on how to maintain your washing machine.
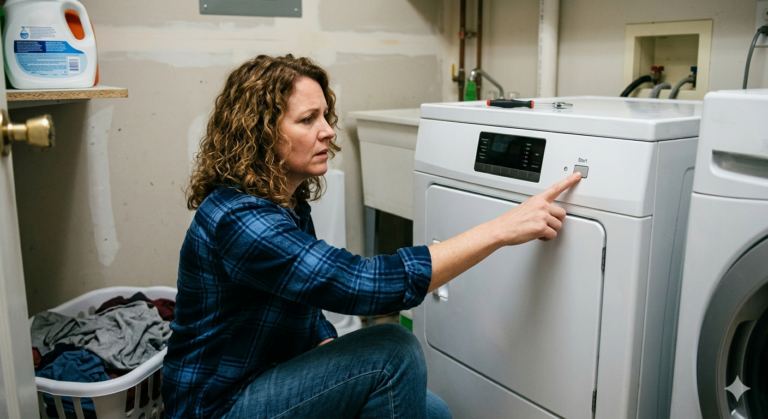
Dryers: Perfectly Level
Dryers should be level similar to washers. Most dryers have adjustable legs at the front and a fixed rear roller. Level the appliance by adjusting the front legs until the level shows perfectly even. Properly leveled dryers operate more quietly and dry clothes more evenly. For drying performance optimization, see our article on why your dryer takes too long to dry.
Dishwashers: Slightly Forward
Dishwashers should be level or tilted very slightly toward the front (just 1/4 inch forward) to ensure proper drainage. Most dishwashers have adjustable feet accessed from underneath:
- Turn off the water supply and unplug the dishwasher
- Remove the lower kick plate or open access panels to reach the feet
- Place the level on the inside of the dishwasher tub
- Adjust feet until the level shows perfect levelness or a very slight forward tilt
- Check that the dishwasher doesn’t tilt backward at all—this prevents proper drainage
- Reconnect water supply and test with a cycle
Improper dishwasher leveling is often the reason for pooling water and drainage problems. If your dishwasher isn’t draining properly, leveling may solve the problem.
Special Situations and Troubleshooting
Uneven Floors
Not all kitchen and laundry room floors are perfectly level. If your floor slopes significantly, you may not be able to achieve perfect leveling. In these cases, adjust the appliance to be as level as possible relative to the floor itself. Use shims (plastic wedges) under feet to achieve the best possible leveling on uneven floors.
Floors That Have Settled
Older homes sometimes have floors that have settled unevenly over time. If your floor is significantly uneven, you might consider having a contractor assess it. In the meantime, level your appliances as much as possible. If an appliance continues to vibrate excessively even when adjusted to the best possible level, the floor slope may be the limiting factor.
Adjustable Feet That Won’t Turn
Over time, adjustable feet can become stuck due to rust or corrosion. If a foot won’t turn with a wrench, apply penetrating oil and wait 15-20 minutes before trying again. Never force it, as this can strip the threads. If the foot still won’t budge, you may need to replace it. Most appliance retailers stock replacement feet for common models.
After Adjusting, The Appliance Still Vibrates
If your appliance vibrates excessively even after leveling, the problem may be internal. Check our article on what various appliance noises mean to help diagnose the issue. Excessive vibration despite proper leveling might indicate worn bearings or motor issues that require professional repair.
When to Call a Professional
Most appliances can be leveled with basic tools, but if you’re uncomfortable working with wrenches or adjusting feet, professional help is available. Additionally, if you’ve leveled your appliance and it continues to have problems—excessive vibration, poor drainage, or doors that don’t close properly—there may be an internal issue that requires professional diagnosis.
In Vancouver, Burnaby, Coquitlam, North Vancouver, and surrounding areas, Tech Angels provides comprehensive appliance repair services. If leveling doesn’t solve your appliance problems, our technicians can diagnose and fix whatever’s causing issues. Call (604) 265-3565 to schedule an appointment.
The Simple Task That Makes a Big Difference
Leveling your appliances is straightforward maintenance that pays huge dividends. Whether you’re dealing with a noisy washing machine, a refrigerator that won’t close properly, or a dishwasher that leaks, checking and adjusting the level is one of the first troubleshooting steps you should take. By investing just a few minutes in this simple task, you’ll improve performance, reduce noise, extend appliance lifespan, and prevent costly repairs. Your appliances—and your bank account—will thank you.
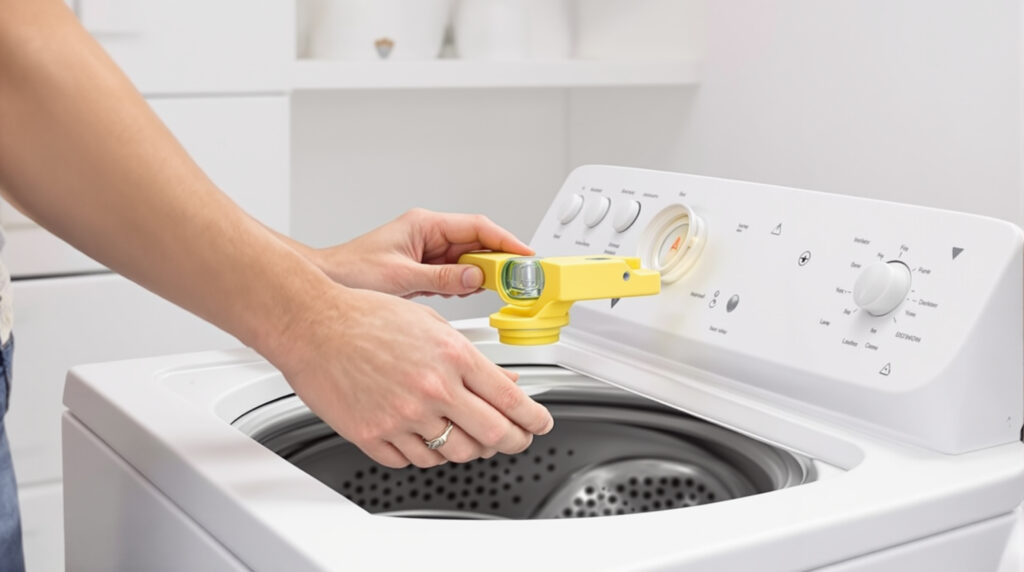
How to Measure and Check If Your Appliances Are Level
Before you start adjusting, you need to determine how much your appliance is actually out of level. A simple spirit level is the most effective tool for this job. Place the level on top of the appliance (side to side first, then front to back) and observe where the bubble settles. If the bubble is centered, your appliance is level. If it’s off-center, you’ll know which direction to adjust.
For refrigerators, which need a slight forward tilt (not level), the front should be about ½ inch higher than the back. This angle helps doors close properly and ensures water drains correctly. This is different from other appliances, so always check your manufacturer’s recommendations for the ideal angle.
Professional Leveling Inspection
If you’re unsure about measuring or adjusting your appliances, Tech Angels can perform a professional leveling inspection. Our technicians verify that all your major appliances are at the correct angle and properly adjusted. This is often included in our routine maintenance checks.
Step-by-Step Adjustment Guide for Different Appliances
Adjusting a Refrigerator
Refrigerators have adjustable feet at each corner. To access them, you may need to remove the base panel or grille cover (consult your manual). Turn the adjustment screw clockwise to raise the front corner or counterclockwise to lower it. Refrigerators should tilt slightly forward (about ½ inch from front to back) so gravity helps doors seal properly and condensation drains toward the back.
After adjusting, open and close the doors several times. They should close easily without slamming or requiring extra pressure. If you need to push hard to close a refrigerator door, this is a sign it’s not tilted correctly—adjust until the doors close smoothly with gentle pressure.
Adjusting a Washing Machine
Washing machines use adjustable legs with locking nuts to prevent vibration during the spin cycle. Most machines have four legs—one at each corner. To raise a leg, turn it counterclockwise; to lower, turn clockwise. Front-loading washers are especially sensitive to leveling because the drum spins at extremely high speeds during the spin cycle.
After adjusting, run a test wash cycle and listen for excessive vibration or noise. The machine should sit solidly without rocking or bouncing. If it’s still vibrating, check the floor itself—sometimes the flooring is uneven rather than the machine being out of level. This is particularly common in older Vancouver homes with settled foundations.
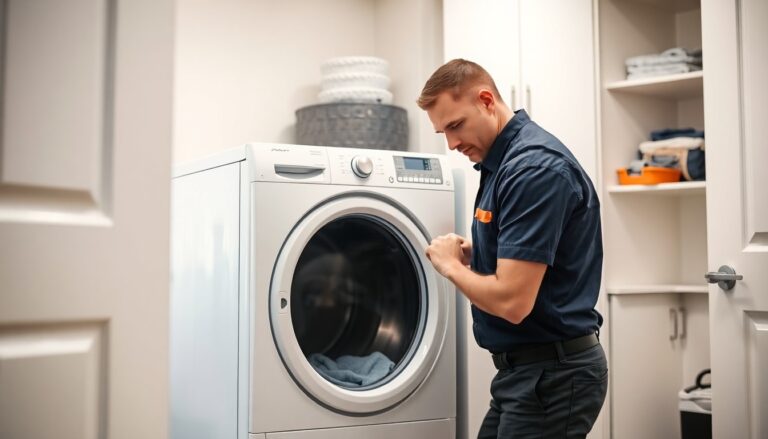
Adjusting a Dishwasher
Built-in dishwashers typically have adjustable legs located at the bottom front of the unit. You may need to remove the base panel or look up underneath to access them. Unlike refrigerators that need a tilt, dishwashers should be perfectly level. This ensures water drains completely and dishes dry properly. Turning the adjustment screws allows you to raise or lower each corner as needed.
After adjustment, open the door fully and listen for any water sloshing sounds inside. The door should also close smoothly without gaps. If the door doesn’t close properly after leveling, the surrounding cabinetry might need adjustment rather than the dishwasher itself.
Adjusting a Dryer
Dryers also use adjustable feet similar to washing machines. A level dryer reduces vibration, noise, and wear on internal components. Turn the feet to adjust height so the dryer sits firmly without rocking. Like washers, dryers should be completely level for optimal performance. If your laundry room has a slightly uneven floor, it’s worth using shims under the dryer feet to compensate.
Special Considerations for Vancouver Area Homes
Vancouver homeowners face unique challenges when leveling appliances due to the age and settling of many homes in the area. Older homes often have uneven or sloped floors, making perfect appliance leveling impossible. In these situations, you may need to use shims—wedge-shaped pieces of wood or plastic placed under appliance feet to compensate for floor irregularities.
Shims are inexpensive ($2-5) and can solve vibration and leveling problems in homes with older flooring. Just place shims under the appropriate feet until your spirit level shows the appliance is properly positioned. Always use at least two contact points for stability—never balance an appliance on a single shim.
Dealing with Basement Installations
Washing machines and dryers installed in basements often sit on concrete floors that may have slight slopes for drainage purposes. Before assuming your appliance is out of level, understand that minor slopes are intentional and necessary. Focus on ensuring the appliance doesn’t rock when you push on it gently. If it’s stable and quiet during operation, it’s probably fine even if your spirit level shows a slight angle.
Advanced Performance Tips Beyond Leveling
Anti-Vibration Pads
Even with proper leveling, some appliances continue to vibrate during operation. Anti-vibration pads, placed under each foot, absorb vibration and reduce noise significantly. These rubber or foam pads cost $15-30 per set and can extend appliance life by reducing stress on internal components. They’re particularly effective for washing machines and dryers in second-floor laundry rooms where vibration can be problematic for neighbors below.
Proper Installation Spacing
Appliances need breathing room for proper ventilation and maintenance access. Don’t install appliances directly against walls or cabinetry without checking manufacturer recommendations for clearance distances. Poor spacing reduces air circulation around motors and components, causing them to overheat and fail prematurely. Most appliances need at least 2-4 inches of clearance on sides and back.
Long-Term Benefits of Proper Leveling
Taking time to properly level your appliances provides multiple benefits that pay off over years of use. Properly leveled appliances run quieter, more efficiently, and with less wear on bearings and seals. Door seals last longer when doors close properly. Spin cycles are more balanced and less damaging to clothes. Energy consumption decreases when appliances don’t have to work harder to compensate for uneven weight distribution.
Most importantly, proper leveling extends appliance lifespan by years, potentially saving you thousands in replacement costs. It’s one of the easiest and most cost-effective maintenance tasks you can perform on your appliances.
Related Articles
Explore more appliance care tips from the Tech Angels blog: