What Causes a Refrigerator to Leak From the Bottom?
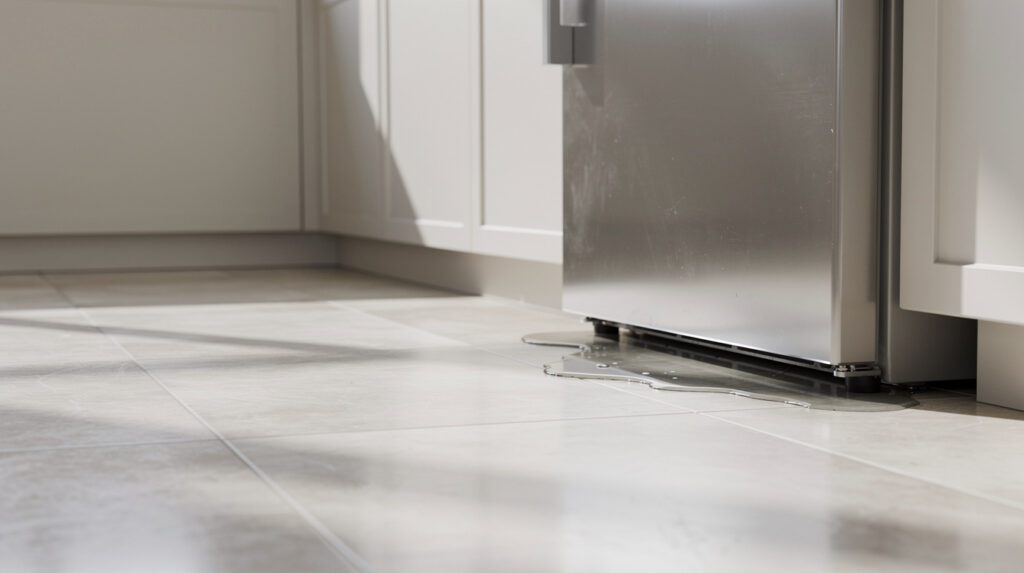
You walk into your kitchen, and there it is — a mysterious puddle of water spreading out from under your refrigerator. It is one of those household problems that can catch you completely off guard, and if left unaddressed, it can lead to water damage on your flooring, mold growth, and even electrical hazards. The good news is that most causes of a leaking refrigerator are surprisingly straightforward to diagnose, and many can be fixed without calling in a professional.
In this comprehensive guide, we will walk you through the most common reasons your refrigerator leaks from the bottom, how to troubleshoot each one, and when it is time to bring in expert help. Whether you own a top-freezer, bottom-freezer, side-by-side, or French door model, these tips apply across the board.
Before You Start: Safety First
Before diving into any troubleshooting, take a moment to ensure your safety. Water and electricity do not mix well, and your refrigerator runs on a significant amount of power.
- Unplug the refrigerator or switch off the circuit breaker before inspecting any internal components.
- Mop up standing water immediately to prevent slipping hazards and floor damage.
- Wear rubber-soled shoes if you are working around pooled water near an electrical appliance.
- Have towels and a shallow pan ready to catch any additional water that drains during your inspection.
Once you have secured the area, you can start working through the potential causes one by one.
The Defrost Drain Is Clogged
This is by far the most common reason a refrigerator leaks from the bottom. Every modern refrigerator has an automatic defrost cycle that melts frost buildup on the evaporator coils. The resulting water is supposed to flow down through a small drain hole, travel through a drain tube, and collect in the drain pan underneath the refrigerator, where it evaporates naturally.
How a Clog Happens
Over time, food particles, ice crystals, and mineral deposits can accumulate in the defrost drain hole or the drain tube. When the drain is blocked, water from the defrost cycle has nowhere to go. It backs up inside the freezer compartment, eventually overflowing and leaking out from under the refrigerator.
How to Fix It
- Locate the defrost drain. In most refrigerators, it is at the back of the freezer compartment, near the bottom. You may need to remove the back panel inside the freezer to access it.
- Clear the blockage. Use a turkey baster filled with warm water to flush the drain. You can also use a pipe cleaner or a piece of flexible wire to gently dislodge any debris stuck in the drain hole.
- Pour a mixture of warm water and baking soda through the drain to clean it thoroughly and prevent future buildup.
- Check the drain tube. Follow the tube down to the drain pan underneath the refrigerator. Make sure it is not kinked, cracked, or clogged at the lower end.
If the clog keeps coming back, there may be a deeper issue with the drain heater or the defrost system itself. In that case, a professional diagnosis is the smart move.
The Drain Pan Is Cracked, Misaligned, or Overflowing
The drain pan sits underneath your refrigerator, typically near the compressor. Under normal conditions, the small amount of water that collects in this pan evaporates before it ever becomes a problem. But if something goes wrong with the pan, you will see water pooling on your floor.
Common Drain Pan Problems
- Cracks or damage: Over the years, the plastic drain pan can develop cracks from age, heat exposure, or accidental impact when moving the fridge.
- Misalignment: If the pan has been bumped out of position — perhaps during cleaning or a kitchen renovation — water will drip past it instead of into it.
- Overflow: In humid climates like Vancouver’s rainy season, or if the refrigerator is working harder than usual due to a cooling issue, the pan can fill faster than the water evaporates. If your refrigerator is running but not cooling properly, it may be cycling more frequently and producing excess condensation.
How to Fix It
Pull the refrigerator away from the wall carefully. Locate the drain pan — usually accessible from the front by removing the kick plate, or from the back. Inspect it for cracks. If it is cracked, you can find a replacement pan specific to your refrigerator model at most appliance parts retailers. If it is simply misaligned, slide it back into its correct position and make sure it sits level.
The Water Supply Line Is Leaking
If your refrigerator has a built-in ice maker or water dispenser, it is connected to your home’s water supply via a water line. This line runs from a valve on the wall (usually behind the fridge) to the back of the refrigerator. A leak in this line can cause a steady drip that pools under the appliance.
Signs of a Water Line Leak
- The leak is constant, not just during defrost cycles.
- You notice water behind or underneath the refrigerator, especially near the wall connection.
- The water is clean and clear, not milky or discolored.
- Your ice maker has been producing less ice than usual, or the water dispenser flow has weakened.
How to Fix It
- Pull the refrigerator out and inspect the water line from the wall valve to the fridge connection.
- Look for visible damage: cracks, kinks, loose fittings, or corrosion at the connection points.
- Tighten loose connections with an adjustable wrench. Be gentle — overtightening can crack the fitting.
- Replace damaged lines. If you have an older copper line, consider upgrading to a braided stainless steel line, which is more durable and less prone to kinking.
- Check the inlet valve on the back of the refrigerator. A faulty inlet valve can drip water even when the ice maker or dispenser is not in use.
If you are not comfortable working with water connections, this is a good time to call in a qualified technician. A poorly sealed water line can cause significant water damage over time.
The Water Filter Is Not Installed Correctly
Modern refrigerators with water dispensers and ice makers use internal water filters. These filters need to be replaced every six months or so, and if a new filter is not installed properly, it can cause leaks.
Common Filter Issues
- Wrong filter model: Using a filter that is not designed for your specific refrigerator can result in a poor seal.
- Improper installation: If the filter is not fully seated or twisted into the locked position, water can bypass the seal.
- Cracked filter housing: The housing that holds the filter can crack over time, especially if the filter was forced in at an angle.
How to Fix It
Remove the filter and reinstall it according to your refrigerator’s owner manual. Make sure you hear or feel the click that indicates it is fully locked in place. Run about two to three litres of water through the dispenser after installation to flush the new filter and check for drips. If the housing is cracked, you will need a replacement part.
Condensation Buildup Due to Door Seal Problems
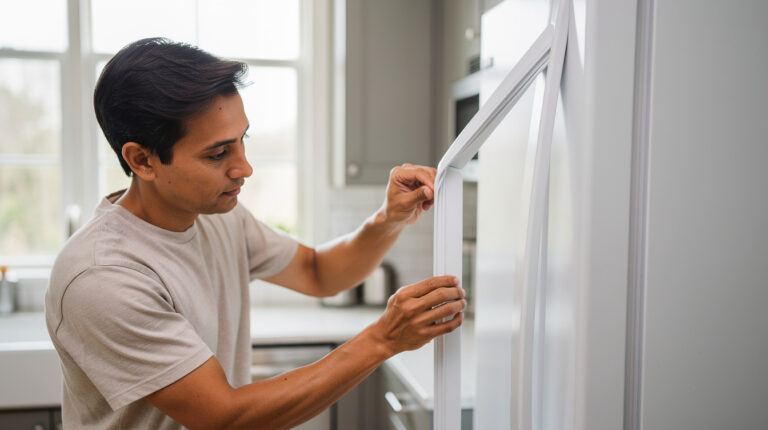
The rubber gasket that runs around the perimeter of your refrigerator and freezer doors is designed to create an airtight seal. When this seal weakens or gets damaged, warm, humid air from your kitchen enters the refrigerator, causing excessive condensation inside the unit.
How to Check Your Door Seal
Try the dollar bill test: close the door on a dollar bill so that half is inside and half is outside. If you can pull the bill out easily without resistance, the seal is too loose. Repeat this test at several points around the door.
Signs of a Failing Door Seal
- Visible tears, cracks, or warping in the rubber gasket.
- The door does not close firmly or pops open on its own.
- Frost buildup inside the freezer compartment.
- Water droplets forming on the interior walls of the refrigerator.
- Your refrigerator is making unusual noises as it works overtime to maintain temperature.
How to Fix It
Clean the gasket thoroughly with warm, soapy water to remove any food residue or mildew that might be preventing a proper seal. If the gasket is deformed but not torn, try warming it with a hair dryer on low heat and gently reshaping it. If the gasket is cracked or torn, it will need to be replaced. Most gaskets are specific to the refrigerator model and can be ordered from the manufacturer or an appliance parts supplier.
Ice Maker Overflow or Malfunction
If your refrigerator has an ice maker, it can be a source of leaks. The ice maker relies on a water inlet valve to fill the mold with the right amount of water. If this valve malfunctions, it can overfill the mold, sending water cascading into the freezer and eventually onto your floor.
Common Ice Maker Leak Causes
- Faulty water inlet valve: The valve may not shut off completely, allowing water to trickle continuously into the ice mold.
- Frozen fill tube: The small tube that delivers water to the ice maker can freeze, causing water to back up and leak.
- Misaligned ice maker: If the ice maker assembly has shifted, water may miss the mold entirely.
- Cracked ice mold: A damaged mold will not hold water properly during the freezing cycle.
How to Fix It
Start by turning off the ice maker using the shutoff switch or lifting the wire arm. Inspect the fill tube for ice blockage — a hair dryer on low heat can thaw it. Check the water inlet valve by observing whether water continues to drip after the fill cycle ends. If the valve is faulty, it will need to be replaced by a technician.
Blocked or Frozen Evaporator Coils
The evaporator coils are located inside the freezer compartment, usually behind a back panel. During the defrost cycle, frost that has accumulated on these coils melts and drains away. But if the defrost system is not working properly, frost can build up excessively on the coils, and when it does eventually melt — either during a manual defrost or when the fridge is opened and closed frequently — the volume of water can overwhelm the drain system.
Signs of Evaporator Coil Issues
- Thick ice buildup visible on the back wall of the freezer.
- The freezer is not maintaining proper temperature. If your freezer has stopped freezing properly, excessive frost on the evaporator coils could be the underlying cause.
- You hear clicking sounds as the defrost timer tries to activate.
- Water appears after the refrigerator has been running with the door closed for a long period.
How to Fix It
If you see heavy frost on the evaporator coils, perform a manual defrost by unplugging the refrigerator and leaving the doors open for 24 hours with towels underneath to catch the meltwater. If the defrost system has failed — meaning the defrost heater, defrost thermostat, or defrost timer is faulty — you will need a professional to diagnose and replace the defective component.
Refrigerator Is Not Level
This one is easy to overlook but surprisingly common. Your refrigerator needs to be slightly tilted backward so that the doors close properly and water flows toward the drain. If the fridge is tilting forward or to one side, water from the defrost cycle may not reach the drain and can pool inside the unit before leaking out.
How to Check and Adjust
- Place a spirit level on top of the refrigerator, both side to side and front to back.
- The front should be very slightly higher than the back — about a quarter-inch is ideal.
- Adjust the leveling legs at the front bottom of the refrigerator. Most models have adjustable feet that you can turn by hand or with a wrench.
- After adjusting, open the door to about 45 degrees and let go. It should swing closed on its own.
An unlevel refrigerator does not just cause leaks — it can also put extra strain on the compressor and hinges, shortening the overall lifespan of the appliance.
High Humidity or Extreme Temperature Changes
If you live in a particularly humid climate — and Vancouver certainly has its share of damp days — condensation on the outside of your refrigerator is not unusual. But when moisture collects on the exterior surfaces and drips down to the floor, it can look like the fridge is leaking from the bottom.
How to Manage Condensation
- Check the anti-sweat heater: Many refrigerators have a built-in heater that prevents condensation on the exterior. Some models have an energy-saver switch that turns this heater off — make sure it is turned on during humid months.
- Improve kitchen ventilation: Use a range hood when cooking, and consider a dehumidifier if your kitchen is particularly humid.
- Ensure clearance: Your refrigerator needs adequate airflow around it. Leave at least two inches of space between the back of the fridge and the wall, and do not block the sides.
When to Call a Professional
While many of the causes above can be addressed with basic tools and a bit of patience, some situations call for professional expertise. Here are signs you should call a qualified appliance repair technician:
- The leak persists after you have tried all the troubleshooting steps above.
- You suspect a defrost system failure — replacing defrost heaters, thermostats, or timers involves working with electrical components.
- The water inlet valve is faulty — improper installation can cause flooding.
- You notice electrical issues such as flickering lights on the control panel, tripped breakers, or a burning smell.
- There is significant ice buildup that keeps returning after manual defrosting.
If you are in the Vancouver area, the team at Tech Angels can diagnose and repair refrigerator leaks quickly, getting your kitchen back to normal without the stress of guesswork. Our experienced technicians handle all major refrigerator brands and models.
Preventing Future Leaks
Once you have resolved the immediate leak, taking some preventive steps can help you avoid a repeat scenario. A few minutes of maintenance every few months can save you from water damage and costly repairs down the road.
Regular Maintenance Checklist
- Clean the defrost drain every six months by flushing it with warm water and baking soda.
- Inspect the door gaskets seasonally. Wipe them clean and check for cracks or gaps.
- Replace the water filter on schedule — typically every six months, or as recommended by your refrigerator manufacturer.
- Check the drain pan during your regular kitchen cleaning. Pull it out, wash it, and inspect it for cracks.
- Inspect the water supply line annually if your fridge has an ice maker or water dispenser. Look for kinks, corrosion, or loose fittings.
- Keep the refrigerator level. Recheck the leveling after any kitchen renovation or if you move the refrigerator for cleaning.
- Clean the condenser coils every six to twelve months. Dusty coils make the compressor work harder, which can lead to more condensation and higher energy bills.
Monitor Your Refrigerator’s Performance
Pay attention to how your refrigerator sounds and performs day to day. Changes in noise level, cooling efficiency, or ice production can all be early warning signs of problems that could eventually lead to leaks. Catching these signs early often means a simpler, less expensive repair.
Final Thoughts
A refrigerator leaking from the bottom is never something to ignore. While the cause is often something simple like a clogged defrost drain or a cracked drain pan, leaving it unaddressed can lead to water damage, mold, and even more expensive repairs. The good news is that with a systematic approach, most leaks can be identified and resolved fairly quickly.
Start with the most common culprits — the defrost drain and the drain pan — and work your way through the other possibilities. Keep up with regular maintenance, and your refrigerator should serve you reliably for many years. And if you are ever in doubt, do not hesitate to reach out to a professional appliance repair service like Tech Angels to get the job done right the first time.