Walking to the fridge for a cold drink and finding everything lukewarm is one of those instant-dread moments. A refrigerator that stops cooling puts hundreds of dollars of food at risk — and the clock starts ticking the moment you notice the problem. But before you start Googling “how much does a new fridge cost,” take a step back. Many cooling problems have fixable causes that you can diagnose right from your kitchen.
This guide walks you through a systematic approach to troubleshooting a refrigerator that’s not cooling, starting with the simplest fixes and working toward more complex possibilities. Whether you own a top-freezer, bottom-freezer, side-by-side, or French door model, these steps cover the common culprits across all major brands.
Step 1: Check the Obvious Things First
It sounds basic, but the most common cooling issues have embarrassingly simple causes. Rule these out before you go any further.
Is the Fridge Actually Plugged In?
Vibrations, accidental bumps, or someone cleaning behind the fridge can loosen the power cord. Reach behind the unit and make sure the plug is firmly in the outlet. Try plugging something else into the same outlet to confirm it’s working.
Check the Temperature Settings
Someone might have accidentally bumped the temperature dial or pressed buttons on the control panel. Your refrigerator should be set between 1°C and 4°C (35°F to 38°F), and your freezer at -18°C (0°F). Reset the controls to the recommended settings and give the fridge 24 hours to stabilize before assessing whether the cooling has improved.
Is the Door Closing Properly?
An improperly sealed door allows warm air to constantly enter the fridge, making the compressor work overtime while temperatures climb. Check that nothing is blocking the door — a container poking out, an ice maker tray sitting at an angle, or even a warped shelf can prevent a full seal.
Test the door seal (gasket) by closing the door on a piece of paper. If you can slide the paper out easily, the gasket isn’t sealing properly and may need cleaning or replacement.
Step 2: Assess Airflow Inside the Fridge
Your refrigerator cools by circulating cold air from the freezer section through internal vents. If those vents are blocked, the fridge compartment won’t reach the right temperature even though the freezer is perfectly cold.
Don’t Overstuff the Fridge
It’s tempting to pack every inch of shelf space, especially before a big gathering. But an overstuffed fridge restricts the airflow needed to distribute cold air evenly. Leave some space between items and make sure you’re not blocking the air vents (usually located at the back wall or between the freezer and fridge compartments).
Check the Freezer Vents
Open the freezer and look for the vents that allow cold air to flow into the refrigerator compartment. If these vents are blocked by frost, ice buildup, or frozen food packages pushed against them, the fridge won’t get enough cold air. Rearrange items to clear the vents and see if that improves things.
Step 3: Inspect the Condenser Coils
The condenser coils are where your refrigerator releases heat. When these coils are covered in dust, pet hair, and kitchen grease, they can’t dissipate heat efficiently. The compressor has to run longer and harder, and in extreme cases, the fridge can’t cool at all.
How to Clean Condenser Coils
- Unplug the refrigerator.
- Locate the coils — they’re usually on the back of the fridge or behind a kick plate at the bottom front.
- Use a coil cleaning brush (available at any hardware store) or a vacuum with a brush attachment to gently remove the dust and debris.
- Clean the surrounding area as well — dust on the floor near the coils will just get pulled back in.
- Plug the fridge back in and monitor the temperature over the next 24 hours.
Cleaning condenser coils every six to twelve months is one of the simplest and most effective maintenance tasks you can perform. It improves cooling performance, reduces energy consumption, and extends the life of your compressor.
Step 4: Listen to the Compressor and Fans
Your refrigerator relies on a compressor and two fans — the condenser fan and the evaporator fan — to circulate refrigerant and move cold air. Problems with any of these components can cause cooling failures.
The Compressor
The compressor is the motor that drives the refrigeration cycle. You can usually hear it as a low humming sound coming from the back or bottom of the fridge. If the fridge is silent (and you’ve verified it has power), the compressor may not be running. Possible causes include a failed compressor, a faulty start relay, or a tripped overload protector.
If the compressor clicks on and off repeatedly (short cycling), it’s struggling to run and may be overheating. This could be due to dirty coils (see Step 3), a failing start relay, or the compressor itself wearing out.
The Condenser Fan
The condenser fan draws air across the condenser coils to help release heat. It’s located near the compressor, usually behind the kick plate at the bottom of the fridge. If this fan isn’t spinning, the coils can’t cool properly even if they’re clean. Listen for the fan running when the compressor is on. If it’s not, check for obstructions first, then consider that the fan motor may need replacing.
The Evaporator Fan
The evaporator fan circulates cold air from the evaporator coils throughout the freezer and refrigerator compartments. It’s located inside the freezer, usually behind a back panel. You should be able to hear it running when you open the freezer door and press the door switch (the little button that turns the light on and off).
If the evaporator fan isn’t running, cold air stays trapped near the evaporator coils instead of being distributed. The freezer may still be cold near the back, but the fridge compartment will warm up. A failed evaporator fan motor is a relatively common repair. For more on refrigerator sounds and what they mean, check out our post about how to repair a refrigerator that’s making strange noises.
Step 5: Check the Defrost System
Modern frost-free refrigerators have an automatic defrost system that periodically melts frost off the evaporator coils. If this system fails, frost builds up on the coils until they’re completely encased in ice. When that happens, air can’t flow over the coils, and both the freezer and fridge stop cooling effectively.
Signs of a Defrost System Failure
- Excessive frost or ice buildup visible in the freezer, especially on the back wall.
- The fridge compartment is warm, but the freezer is still somewhat cold.
- You hear water dripping sounds inside the freezer.
- A sheet of ice covering the entire back panel of the freezer compartment.
Testing the Defrost System
The defrost system has three main components: the defrost heater, the defrost thermostat, and the defrost timer (or defrost control board on newer models). Diagnosing which one has failed requires removing the freezer’s back panel and testing the components with a multimeter — a task that many homeowners can do with basic electrical knowledge, but one that’s also perfectly reasonable to leave to a professional.
As a temporary measure, you can manually defrost the unit by unplugging it and leaving the doors open for several hours until all ice melts. If the fridge cools normally after manual defrost but the ice returns within a few days, you can be fairly confident the defrost system is the issue.
Step 6: Examine the Door Gaskets
We mentioned door seals briefly in Step 1, but they deserve a deeper look. A worn, dirty, or damaged door gasket is one of the most overlooked causes of cooling problems. Over time, gaskets lose their flexibility, develop cracks, or accumulate food residue and mold that prevents them from sealing tightly.
How to Test and Maintain Door Gaskets
- The paper test: Close the door on a dollar bill or piece of paper at several points around the door. You should feel resistance when pulling the paper out. If it slides freely at any point, the seal is compromised there.
- Visual inspection: Look for visible cracks, tears, warping, or areas where the gasket has pulled away from the door.
- Clean regularly: Wipe the gaskets with warm, soapy water (or a baking soda solution) every month. Grime and food residue prevent proper sealing.
- Apply a thin layer of petroleum jelly to the gasket surface to keep the rubber supple and improve the seal.
Replacing a door gasket is a straightforward repair that can make a dramatic difference in cooling performance and energy efficiency.
Step 7: Check the Evaporator Coils for Frost
If you’re comfortable working behind the freezer’s interior panel, you can directly inspect the evaporator coils. These are the coils that actually get cold and absorb heat from inside the fridge.
- Unplug the refrigerator.
- Remove the back panel inside the freezer compartment (usually held by a few screws).
- Look at the coils. They should have a light, even frost covering. If they’re encased in thick ice, the defrost system has failed (see Step 5).
- If the coils look clean and frost-free, the issue likely lies elsewhere — the compressor, fans, or sealed refrigerant system.
Step 8: Consider the Sealed System
The sealed system consists of the compressor, condenser coils, evaporator coils, and the refrigerant that flows between them. If there’s a refrigerant leak or a restriction in the system, your fridge won’t cool properly — and unfortunately, this isn’t something you can diagnose or repair yourself.
Signs of a sealed system problem include the compressor running constantly without achieving target temperatures, one side of the fridge being very cold while the other is warm, or hissing and gurgling sounds that are louder or different than normal.
Sealed system repairs require specialized equipment, EPA-certified refrigerant handling, and professional expertise. If you suspect a refrigerant issue, it’s time to call a qualified technician.
When to Call a Professional
You should reach out to a professional appliance repair service if:
- You’ve worked through all the troubleshooting steps above and the fridge still isn’t cooling.
- The compressor isn’t running at all, or it’s short cycling (clicking on and off rapidly).
- You suspect a refrigerant leak or sealed system issue.
- The defrost system has failed and you’re not comfortable replacing components.
- Your fridge is still under warranty — DIY repairs could void your coverage.
- The problem involves electrical components like the main control board or temperature sensors.
If you’re in the Vancouver area and your fridge isn’t cooperating, Tech Angels Appliance Repair can help. Our certified technicians specialize in refrigerator repair for all major brands, and we offer next-day service throughout Vancouver, Burnaby, Coquitlam, and the surrounding communities.
How to Protect Your Food While Troubleshooting
While you’re diagnosing the problem, take steps to minimize food spoilage:
- Keep the doors closed as much as possible. An unopened fridge can maintain safe temperatures for about four hours; an unopened freezer can last 24-48 hours depending on how full it is.
- Use a cooler with ice for items you need to access frequently, like milk and juice.
- Move perishables to a neighbor’s fridge if the repair will take more than a few hours.
- Group frozen items together — they keep each other cold longer.
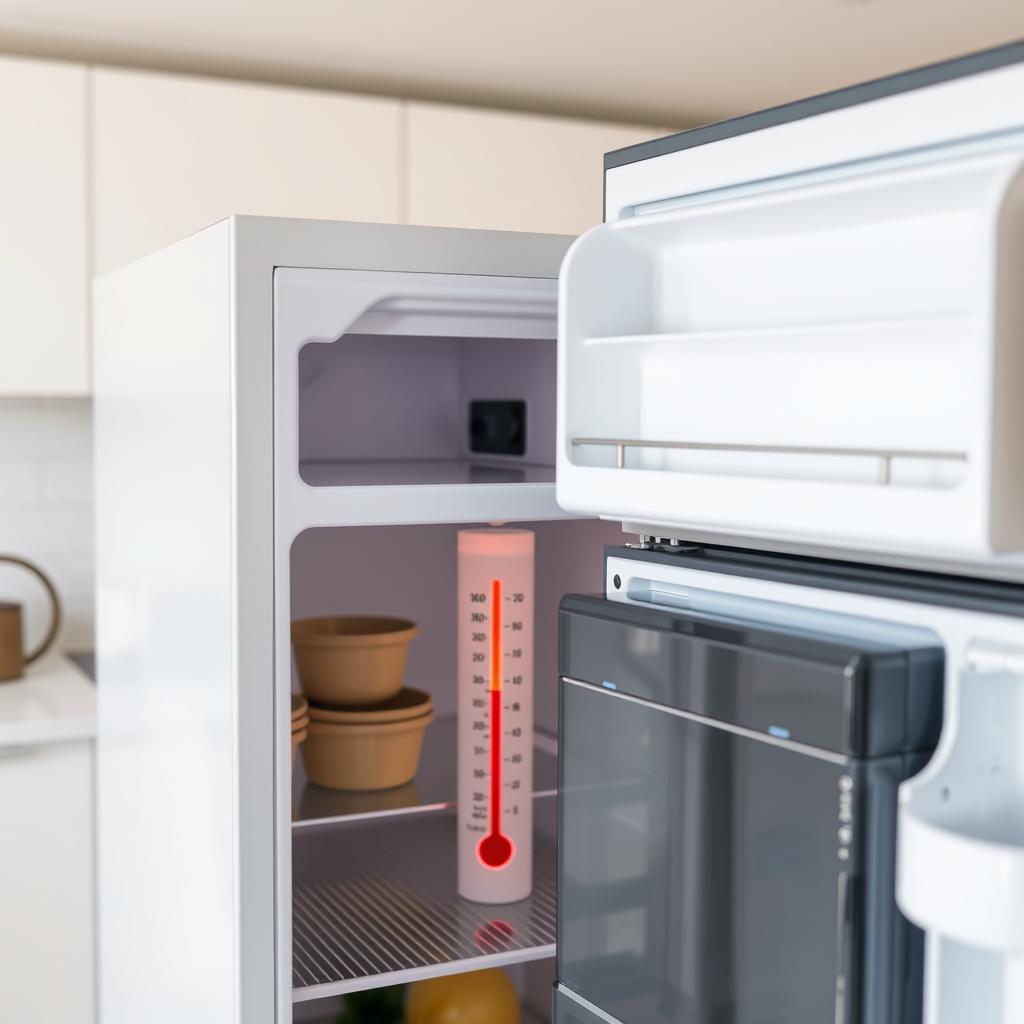
- Use a food thermometer to check whether items have stayed below 4°C (40°F). When in doubt, throw it out.
Preventing Future Cooling Problems
Regular maintenance dramatically reduces the risk of your fridge losing its cool (literally). Here’s your ongoing maintenance checklist:
- Clean condenser coils every 6-12 months.
- Inspect and clean door gaskets monthly.
- Keep the fridge organized with proper airflow space.
- Replace the water filter according to the manufacturer’s schedule.
- Listen for unusual sounds and address them promptly — they’re early warning signs.
- Ensure at least 2-3 inches of clearance around the fridge for adequate ventilation.
For more ways to keep your refrigerator in peak condition, read our article on the 10 warning signs your refrigerator is about to fail.
Final Thoughts
A refrigerator that’s not cooling is undeniably stressful, but more often than not, the cause is something manageable — dirty coils, blocked vents, a faulty fan, or a worn door seal. By working through these troubleshooting steps systematically, you can often identify the problem and either fix it yourself or give your repair technician a precise diagnosis that saves time and money.
The key is to act quickly. The longer a cooling problem goes unaddressed, the greater the risk to your food and the harder the compressor has to work — potentially causing secondary damage. Check the basics, clean what needs cleaning, and if the problem persists, don’t hesitate to call in the experts.
Ready for professional help? Contact Tech Angels at (604) 265-3565 or schedule a repair online. We’ll get your fridge back to keeping things cool.