That Mysterious Moisture on Your Fridge
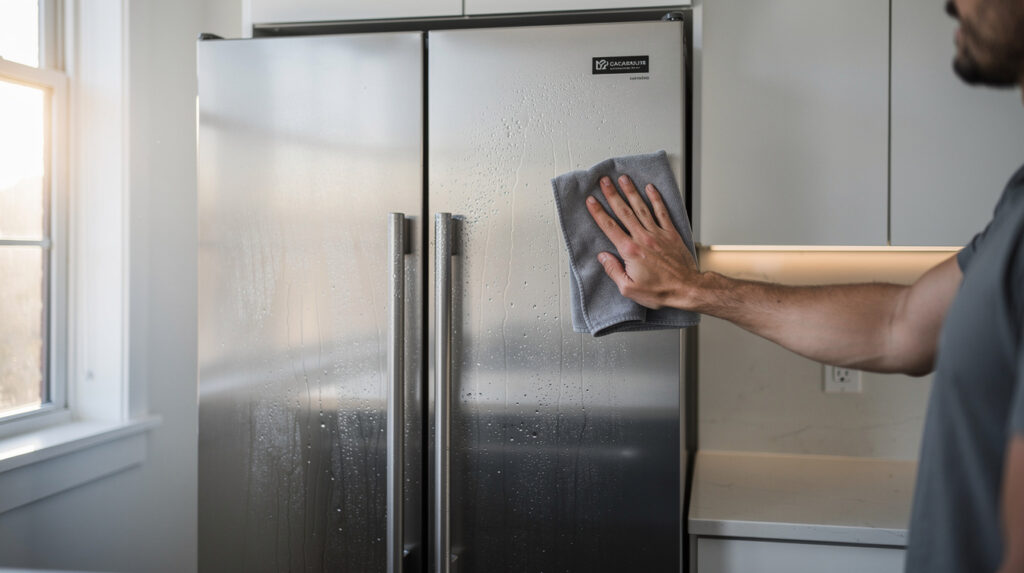
You walk into your kitchen and notice water droplets forming on the outside of your refrigerator. Or maybe you open the door and find puddles on the shelves, damp food containers, and moisture dripping down the interior walls. Either way, your refrigerator is sweating, and while it might seem like a minor annoyance, it can actually signal underlying problems that affect your food safety, energy bills, and the lifespan of your appliance.
Refrigerator sweating is surprisingly common, especially in humid climates. Here in Vancouver, BC, where humidity levels can climb significantly during the warmer months, condensation on and inside refrigerators is a frequent complaint from homeowners. The good news is that most causes of refrigerator sweating are identifiable and fixable, often without needing professional help.
In this guide, we will explain exactly why your fridge is sweating, how to determine whether it is an exterior or interior condensation issue, and what steps you can take to fix it and prevent it from coming back.
Understanding Why Refrigerators Sweat
To understand refrigerator sweating, you need to understand condensation. Condensation occurs when warm, moist air comes into contact with a cold surface. The air cools down rapidly and can no longer hold as much moisture, so the water vapor turns into liquid droplets on the surface. It is the same phenomenon that causes a cold glass of water to bead up with moisture on a hot day.
Your refrigerator is essentially a large cold surface sitting in a warm room. Under normal conditions, the design of the refrigerator manages the temperature differences effectively, and you should not see significant condensation. When sweating does occur, it means something is disrupting that balance, whether it is the surrounding environment, a component issue, or a usage habit that needs adjusting.
Exterior Condensation: Why the Outside of Your Fridge Is Wet
If you are seeing moisture, water droplets, or even dripping on the outside surfaces of your refrigerator, particularly on the doors, sides, or between the doors on a French-door model, the issue is exterior condensation.
High Humidity in Your Home
The most common cause of exterior refrigerator sweating is simply high humidity levels in your kitchen. When the air in your home carries a lot of moisture (typically above 55 to 60 percent relative humidity), that moisture condenses on the cold exterior surfaces of the refrigerator. This is especially prevalent in Vancouver during the late spring and summer months, when outdoor humidity rises and open windows let moist air into the home.
Running a dehumidifier in your kitchen or using your range hood while cooking can help reduce ambient humidity. Air conditioning also removes moisture from indoor air, which is why refrigerator sweating is often less of an issue in homes with central air.
Anti-Sweat Heaters Are Turned Off or Failing
Many modern refrigerators include small heaters, called anti-sweat heaters or mullion heaters, built into the edges of the doors and the frame between the refrigerator and freezer compartments. These heaters warm the exterior surfaces just enough to prevent condensation from forming. They are especially common on French-door and side-by-side models.
Some refrigerators have an energy-saving switch or setting that turns off these anti-sweat heaters to reduce electricity usage. If you have enabled this setting and are now experiencing exterior condensation, try turning it off. The heaters use a relatively small amount of energy, and the trade-off for a dry exterior is usually worth it.
If the anti-sweat heaters have failed entirely, you will notice persistent exterior sweating regardless of the humidity level in your home. This is a repair that typically requires a technician, as the heaters are wired into the refrigerator’s electrical system.
Poor Ventilation Around the Refrigerator
Refrigerators need adequate airflow around them to dissipate the heat they generate during the cooling process. If your refrigerator is pushed too tightly against the wall or squeezed into a cabinet opening with insufficient clearance, the heat it produces gets trapped. This raises the temperature of the surrounding air, increases local humidity, and can contribute to exterior condensation.
Most manufacturers recommend leaving at least one inch of clearance on each side and at the top of the refrigerator, and two inches behind it. Check your owner’s manual for specific recommendations for your model.
Frequent Door Opening
Every time you open the refrigerator door, warm, humid air from your kitchen rushes in and cold air spills out. If you or your family members are opening the door frequently or leaving it open for extended periods while deciding what to eat, you are introducing a significant amount of moisture into the cooling system. This can contribute to both exterior and interior condensation.
Interior Condensation: Why It Is Wet Inside Your Fridge
Interior condensation shows up as water droplets on the walls, ceiling, and shelves inside the refrigerator compartment. It can make food containers damp, cause labels to peel off, and create an environment where mold and bacteria thrive more easily. Interior sweating is often a sign of a specific issue that needs attention.
Worn or Damaged Door Gaskets
The rubber gasket that runs around the edge of your refrigerator door creates an airtight seal when the door is closed. Over time, gaskets can become worn, cracked, compressed, or dirty, which allows warm air to seep in continuously. This warm air meeting the cold interior creates constant condensation.
To test your gaskets, close the door on a piece of paper or a dollar bill. If you can pull the paper out easily without resistance, the gasket is not sealing properly. Perform this test at several points around the door, as gaskets can fail in specific areas while remaining functional elsewhere.
Cleaning your gaskets regularly with warm soapy water can extend their life. If they are cracked or permanently compressed, replacement gaskets are available for most refrigerator models and can be installed without tools in many cases.
Temperature Set Too Low
If your refrigerator is set colder than it needs to be, the increased temperature difference between the interior and the air that enters when you open the door can cause more condensation. The recommended temperature for a refrigerator is between 35 and 38 degrees Fahrenheit (1.7 to 3.3 degrees Celsius). Your freezer should be set at 0 degrees Fahrenheit (minus 18 degrees Celsius).
Check your temperature settings and adjust if necessary. Use a refrigerator thermometer to verify the actual temperature, as the built-in controls on many models are not precisely calibrated.
Blocked Air Vents Inside the Fridge
Inside your refrigerator, small vents circulate cold air from the freezer compartment (where the evaporator coil is located) into the fresh food compartment. If these vents are blocked by food items pushed too close to them, the air circulation is disrupted. This can create cold spots where condensation forms and warm spots where food does not stay properly chilled.
Organize your refrigerator so that nothing is directly touching or blocking the air vents. These vents are usually located at the back wall of the refrigerator compartment and sometimes along the top or sides.
Defrost System Issues
Modern frost-free refrigerators use an automatic defrost system to periodically melt any ice that forms on the evaporator coil. The melted water drains through a tube into a pan at the bottom of the refrigerator, where it evaporates. If the defrost drain is clogged (often with ice or food debris), the water has nowhere to go and can back up into the refrigerator compartment, creating moisture and puddles.
A clogged defrost drain is a common and relatively easy fix. You can often clear it by flushing the drain with warm water using a turkey baster or by carefully using a pipe cleaner to remove the blockage. The drain opening is usually located at the back wall of the refrigerator compartment, near the bottom.
Vancouver’s Humidity Factor
Living in Vancouver means dealing with a unique humidity profile that affects your appliances. Our mild, wet winters and increasingly warm, humid summers create conditions that are particularly conducive to refrigerator condensation.
Seasonal Patterns
You may notice that your refrigerator sweating is worse during certain times of year. In late spring and summer, higher outdoor temperatures and humidity levels mean more moisture in your indoor air, especially if you like to keep windows open. During the rainy season, indoor humidity can also climb if your home does not have adequate ventilation or a dehumidifier.
Home Design Considerations
Many Vancouver homes, particularly older ones and condominiums, have kitchens without dedicated ventilation or with minimal airflow. If your kitchen does not have a range hood that vents to the outside (as opposed to a recirculating hood that filters and returns air to the kitchen), cooking moisture stays trapped indoors. This elevated humidity contributes directly to refrigerator sweating.
Managing Indoor Humidity
Keeping your indoor humidity between 30 and 50 percent is ideal for both comfort and appliance performance. A simple hygrometer (available at any hardware store for under twenty dollars) can help you monitor humidity levels. If levels are consistently above 55 percent, consider running a dehumidifier, especially in the kitchen area. Always use your range hood or open a window when cooking or boiling water, and make sure your bathroom fans are running during and after showers.
Step-by-Step Troubleshooting Guide
If your refrigerator is sweating, work through these steps to identify and fix the issue.
Step 1: Determine Where the Condensation Is
Is it on the exterior surfaces (doors, sides, between doors)? Or is it inside the compartment (walls, shelves, ceiling)? The location tells you which set of causes to investigate.
Step 2: Check Your Home’s Humidity Level
Use a hygrometer to measure the humidity in your kitchen. If it is above 55 percent, that is likely a contributing factor. Take steps to reduce humidity before investigating further.
Step 3: Inspect the Door Gaskets
Perform the paper test on all doors. Clean the gaskets thoroughly with warm soapy water. If they are cracked, torn, or permanently compressed, plan for replacement.
Step 4: Verify Temperature Settings
Place a thermometer inside the refrigerator and freezer compartments. Check readings after 24 hours. Adjust settings if the temperature is outside the recommended ranges.
Step 5: Check for Blocked Vents
Look inside the refrigerator for air vents and make sure no food items are blocking them. Rearrange as needed to allow free air circulation.
Step 6: Inspect the Defrost Drain
Locate the defrost drain at the back of the refrigerator compartment. If you see water pooling near it or if it appears clogged, flush it with warm water.
Step 7: Check the Anti-Sweat Heater Setting
If your model has an energy-saving switch that controls the anti-sweat heaters, make sure it is in the position that enables the heaters (usually the “normal” rather than “energy saving” position).
Step 8: Evaluate Ventilation
Make sure the refrigerator has adequate clearance on all sides and that the condenser coils (usually at the back or underneath) are clean and free of dust buildup.
When Sweating Signals a Bigger Problem
In most cases, refrigerator sweating is caused by environmental factors or minor maintenance issues. However, persistent condensation that does not respond to the troubleshooting steps above could indicate a more serious problem.
Failing Anti-Sweat Heaters
If exterior condensation persists even after reducing humidity and checking the energy-saving setting, the anti-sweat heaters themselves may have failed. Diagnosing and replacing these heaters requires accessing the refrigerator’s electrical components, which is best left to a qualified technician.
Defrost System Failure
If you notice heavy frost buildup on the back wall inside the refrigerator, combined with water pooling on shelves and the floor, the automatic defrost system may be failing. This could involve a faulty defrost heater, defrost thermostat, or defrost timer/control board. These components work together to manage ice buildup, and when one fails, the effects cascade.
Sealed System Issues
In rare cases, persistent interior sweating combined with the refrigerator not maintaining proper temperatures could point to a problem with the sealed refrigeration system itself, such as a refrigerant leak or a failing compressor. These are significant repairs that require professional diagnosis.
If you have worked through all the DIY troubleshooting steps and your refrigerator is still sweating, it is worth having a professional take a look. The appliance repair specialists at Tech Angels can diagnose the root cause and determine whether a repair or replacement makes more sense for your situation.
Preventing Refrigerator Sweating Long-Term
Once you have resolved the immediate issue, these habits will help keep condensation from returning.
- Monitor your kitchen humidity with a hygrometer and use a dehumidifier when levels exceed 55 percent.
- Clean door gaskets every three months with warm soapy water to maintain a proper seal.
- Avoid placing hot food directly into the refrigerator, as it raises the internal temperature and introduces steam.
- Minimize door opening frequency and duration. Know what you want before you open the door.
- Keep the interior organized so air vents are never blocked.
- Clean condenser coils every six to twelve months to maintain efficient cooling.
- Cover liquids and moist foods inside the refrigerator to reduce internal moisture.
- Ensure your kitchen has adequate ventilation, especially when cooking.
Condensation Between Glass Door Panels
If you have a refrigerator with glass-panel doors, you might notice condensation forming between the panes of glass. This is a different issue from surface condensation and typically indicates that the seal between the glass panels has failed, allowing moist air to enter the space between them. Unfortunately, this is usually not a DIY fix and requires the door panel to be replaced.
Final Thoughts on Fridge Condensation
Refrigerator sweating is almost always fixable and rarely signals the end of your appliance’s life. In most cases, it comes down to managing the humidity in your home, maintaining clean and functional door gaskets, and making sure the refrigerator is set to the correct temperature with proper airflow. For Vancouver homeowners, paying attention to seasonal humidity changes and investing in a kitchen dehumidifier can make a noticeable difference.
Take a few minutes to inspect your fridge this week. Check the gaskets, verify the temperature, look at the clearance around the unit, and make sure those air vents inside are not blocked by last week’s leftovers. A little preventive attention goes a long way toward keeping your refrigerator running efficiently and your kitchen dry.
Related Articles
Explore more appliance care tips from the Tech Angels blog: