Your washing machine’s diagnostic mode is like having a built-in mechanic. It tests every major component, reveals hidden error codes, and tells you exactly what’s going wrong — all without a service call. While we covered diagnostic mode broadly across all appliances in a previous guide, this article focuses specifically on washing machines, going deeper into the brand-specific procedures, common error codes, and step-by-step troubleshooting workflows.
Whether you have a Samsung, LG, Whirlpool, Maytag, Bosch, or GE washer, this guide will help you use diagnostic mode like a pro.
Why Washing Machine Diagnostics Matter
Washing machines are among the most complex household appliances. They manage water intake, temperature regulation, drum rotation at varying speeds, drainage, door locking, and cycle timing — all coordinated by an electronic control board. When something goes wrong, the symptoms can be misleading. A machine that won’t drain might actually have a door lock issue. A washer that shakes violently might have a faulty sensor rather than an unbalanced load.
Diagnostic mode cuts through the ambiguity by testing each component individually and reporting specific error codes. This precision saves time, prevents unnecessary part replacements, and gives repair technicians the exact information they need.
Entering Diagnostic Mode: Brand-by-Brand Guide
Whirlpool and Maytag (Including Kenmore by Whirlpool)
These are among the most common washers in Canadian homes, and their diagnostic entry is well-documented:
- Start with the machine in standby mode — plugged in, all lights off, no cycle running.
- Choose any three buttons on the control panel (except Power).
- Press them in sequence: 1-2-3, 1-2-3, 1-2-3 (three full rounds within 8 seconds).
- All LEDs on the panel will illuminate simultaneously, confirming you’re in diagnostic mode.
- The display shows the most recent error codes. Press the same buttons to cycle through stored codes and individual component tests.
Samsung
- Turn the washer off but leave it plugged in.
- Press and hold Delay End + Soil Level simultaneously.
- While holding those buttons, press Power.
- Release all buttons when the display changes.
- The machine displays stored error codes and enters component test mode.
LG
- Press Power to turn the washer on.
- Press and hold Spin Speed + Soil Level for about 3 seconds.
- The washer enters test mode, cycling through components automatically.
- For Wi-Fi-enabled models, the LG ThinQ app’s Smart Diagnosis feature provides a smartphone-based alternative.
Bosch
- Turn the program selector to Off.
- Press and hold the Spin button.
- While holding Spin, turn the selector to Permanent Press Cold.
- Wait for the display to show a code, then release Spin.
- Rotate the selector to access different test functions.
GE and GE Profile
- Unplug the washer for one minute, then plug it back in.
- Within 30 seconds, open and close the lid/door six times within 12 seconds.
- The machine enters diagnostic mode and begins automated testing.
Common Washing Machine Error Codes Explained
While every model has its own specific codes, these categories appear across most brands:
Water Supply Errors
Examples: F8 E1 (Whirlpool), 4E (Samsung), IE (LG), E17 (Bosch)
Meaning: The washer isn’t receiving enough water. Check that both hot and cold supply valves are fully open, hoses aren’t kinked, and inlet screens aren’t clogged with mineral deposits.
Drainage Errors
Examples: F9 E1 (Whirlpool), 5E (Samsung), OE (LG), E18 (Bosch)
Meaning: Water isn’t draining from the drum. Check the drain pump filter for clogs, inspect the drain hose for kinks, and ensure the standpipe or drain connection isn’t blocked.
Door Lock Errors
Examples: F5 E2 (Whirlpool), dE (Samsung), dE1 (LG), E16 (Bosch)
Meaning: The door lock mechanism isn’t engaging properly. Check for obstructions in the door seal, clean the latch area, and inspect the lock mechanism for wear or damage.
Motor Errors
Examples: F7 E1 (Whirlpool), 3E (Samsung), LE (LG), E21 (Bosch)
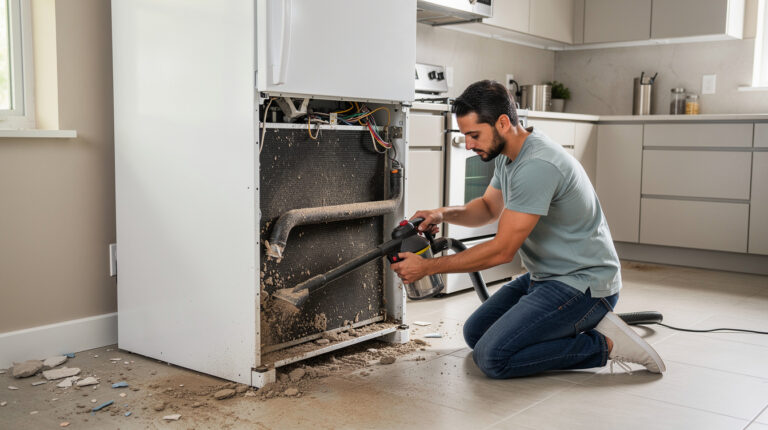
Meaning: The drive motor or motor control system has a problem. This can range from a loose wiring connection to a failed motor or motor control board. These repairs typically require professional service.
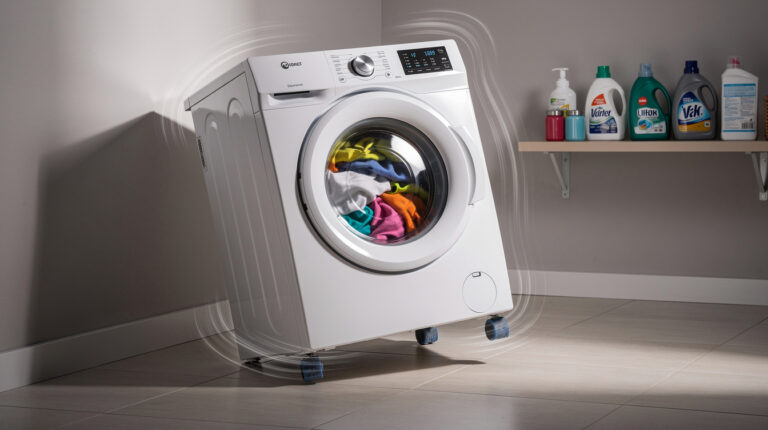
Unbalanced Load
Examples: F0 E2 (Whirlpool), UE (Samsung), UE (LG)
Meaning: The load is unevenly distributed in the drum, preventing safe high-speed spinning. Redistribute the clothes and try again. If the code persists with different loads, the suspension system may be worn.
Temperature Sensor Errors
Examples: F2 E1 (Whirlpool), HE (Samsung), tE (LG)
Meaning: The water temperature sensor (thermistor) is providing readings outside the expected range. The sensor may be faulty or its wiring may be damaged.
Step-by-Step Troubleshooting Workflow
Here’s a systematic approach to using diagnostic mode effectively:
- Step 1: Note the symptoms you’ve been experiencing (won’t start, won’t drain, shakes, error code on display, etc.).
- Step 2: Enter diagnostic mode using the brand-specific instructions above.
- Step 3: Record all displayed error codes. Write them down or photograph the display.
- Step 4: If available, run the individual component tests. Watch and listen as each component activates — door lock, water fill, agitate, spin, drain.
- Step 5: Note any tests that fail or components that don’t activate properly.
- Step 6: Exit diagnostic mode (usually by pressing Power or unplugging the machine).
- Step 7: Look up the error codes in your manual or manufacturer’s support website.
- Step 8: Attempt the recommended fix if it’s within your comfort level, or share the diagnostic information with a repair technician.
What You Can Fix Based on Diagnostic Results
- Water supply errors: Check valves, hoses, and inlet screens. Usually a DIY fix.
- Drainage errors: Clean the drain pump filter, check the drain hose. Usually DIY.
- Door lock errors: Clean the latch, remove obstructions from the seal. Sometimes DIY, sometimes requires a new lock mechanism.
- Unbalanced load: Redistribute clothes. If persistent, check the suspension springs and shock absorbers.
What Needs Professional Repair
- Motor and motor control errors: These involve high-voltage components and complex diagnostics.
- Control board failures: The board itself may need replacement or reprogramming.
- Bearing issues: Drum bearing replacement requires significant disassembly.
- Sensor replacements: While the parts are inexpensive, accessing and wiring them correctly requires experience.
For any washing machine issue beyond basic troubleshooting, Tech Angels Appliance Repair provides expert washer repair throughout Vancouver and the Lower Mainland. Call (604) 265-3565 to schedule service. When you share your diagnostic codes with us, we can often arrive with the exact parts needed for a one-visit repair.
Final Thoughts
Your washing machine’s diagnostic mode is the single most useful troubleshooting tool available to you as a homeowner. It transforms vague symptoms into specific, actionable information — and it’s available to anyone willing to press a few buttons. The next time your washer acts up, run diagnostic mode before doing anything else. The answer to your problem is probably already stored in the machine’s memory, just waiting for you to ask.