Why Your Refrigerator Door Seal Matters More Than You Think
Your refrigerator door seal, also known as a gasket, is one of those parts you probably never think about until something goes wrong. It is just a rubber strip around the door, right? How important can it be?
Very important, as it turns out. That humble rubber gasket is the only thing standing between the cold air inside your fridge and the warm air in your kitchen. When it works properly, it creates an airtight seal that keeps your refrigerator running efficiently and your food at safe temperatures. When it fails, your fridge has to work overtime to compensate, leading to higher energy bills, inconsistent temperatures, and premature wear on your compressor.
The good news is that a failing door seal gives you plenty of warning signs before it completely gives out. And replacing it is one of the more straightforward refrigerator repairs you can tackle. In this guide, we will walk you through everything you need to know about spotting a bad seal, testing it, and replacing it yourself.
What Does a Refrigerator Door Seal Do?
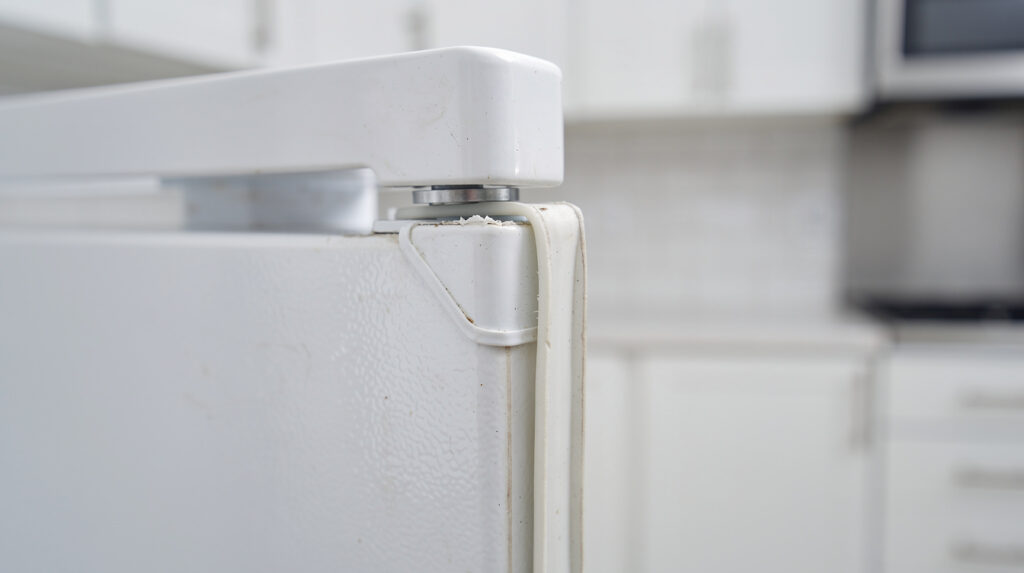
The door seal on your refrigerator is a flexible rubber or silicone gasket that runs around the entire perimeter of the door. It is designed to compress against the frame of the refrigerator body when the door is closed, creating an airtight barrier.
This seal serves several critical functions:
- Keeps cold air in — Without a proper seal, cold air escapes every time there is a gap, forcing the compressor to run more frequently.
- Keeps warm air out — Warm, humid air entering the fridge causes condensation and frost buildup, which can affect food quality and storage.
- Maintains consistent temperature — A good seal ensures that the temperature inside your refrigerator stays stable, which is essential for food safety.
- Reduces energy consumption — When the seal is intact, your fridge does not have to work as hard to maintain the set temperature, which translates to lower electricity bills.
- Prevents frost and ice buildup — Warm air leaking in carries moisture that can freeze on the evaporator coils or inside the freezer compartment.
Common Signs Your Refrigerator Door Seal Is Failing
A failing door seal does not usually go from perfect to useless overnight. It degrades gradually, so knowing what to look for can help you catch the problem early. Here are the telltale signs:
Visible Cracks, Tears, or Deformation
The most obvious sign of a failing seal is visible damage. Run your fingers along the entire gasket and look for cracks, tears, thin spots, or areas where the rubber has hardened and lost its flexibility. Pay special attention to the corners, where gaskets tend to wear out first because of the stress from repeated opening and closing.
The Door Does Not Close Properly
If your refrigerator door does not close firmly on its own, or if it swings open after you push it shut, the seal may be warped or compressed. A properly functioning gasket should create enough suction to hold the door closed once it is pushed into place. If you find yourself having to push the door extra hard or it bounces back open, the gasket is not doing its job.
Condensation or Moisture Around the Door
Notice moisture droplets forming on the outside of your refrigerator door, especially around the edges? This is a classic sign that warm air is meeting cold air at a gap in the seal. You might also see condensation or frost forming just inside the door opening.
Your Refrigerator Is Running Constantly
Your refrigerator compressor should cycle on and off throughout the day. If you notice that it seems to be running all the time, or running much more frequently than it used to, a leaking door seal could be the reason. The compressor is working overtime to replace the cold air that is escaping. If your refrigerator is running but not cooling properly, a failed door seal is one of the first things to check.
Increased Energy Bills
A refrigerator with a bad door seal can use significantly more electricity than one with a good seal. If your energy bills have crept up and you cannot figure out why, your fridge could be the culprit. The U.S. Department of Energy estimates that a faulty gasket can increase your refrigerator’s energy consumption by up to 25 percent.
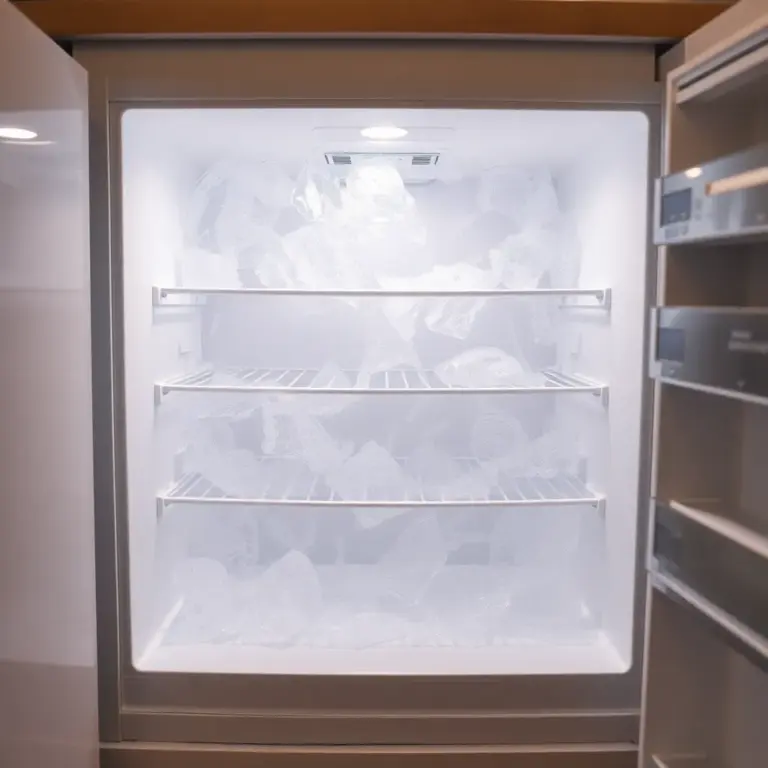
Frost Buildup in the Freezer
Excessive frost buildup inside your freezer compartment is often caused by warm, moist air leaking in through a bad seal. If you are constantly dealing with frost that you have to scrape or defrost, check the freezer door gasket before assuming there is a more serious problem.
Food Spoiling Faster Than Usual
If your produce is wilting, your milk is going bad before the expiration date, or your leftovers are not lasting as long as they should, inconsistent temperatures from a failing seal could be to blame. A refrigerator that cannot maintain a steady temperature is a refrigerator that cannot keep your food safe.
Mold or Mildew on the Gasket
The folds of a refrigerator gasket are a perfect breeding ground for mold and mildew. While some mold growth is normal and can be cleaned, excessive mold can indicate that the gasket is retaining moisture because it is not sealing properly. Mold can also degrade the rubber material over time, making the seal worse.
How to Test Your Refrigerator Door Seal
Not sure whether your seal is actually failing or just dirty? Here are two simple tests you can do at home:
The Dollar Bill Test
This is the classic gasket test, and it works well. Close your refrigerator door on a dollar bill so that half of it is inside and half is sticking out. Try to pull the bill out. If it slides out easily with little resistance, the seal is not tight enough in that spot. Repeat this test at multiple points around the door, including all four sides and the corners.
A good seal should grip the dollar bill firmly enough that you feel resistance when pulling it out. If it slides freely at any point, you have a sealing problem.
The Flashlight Test
This test works best in a dark room. Place a bright flashlight inside your refrigerator, close the door, and turn off the kitchen lights. Look around the edges of the door for any light shining through. If you can see light escaping, air is escaping too. This test can help you pinpoint exactly where the gaps are.
Can You Fix a Refrigerator Door Seal Without Replacing It?
Sometimes a gasket that appears to be failing just needs a good cleaning or minor adjustment. Before you go through the effort of replacing it, try these fixes:
Deep Clean the Gasket
Dirt, food residue, and sticky spills can prevent the gasket from sealing properly. Clean the entire gasket with warm water and a mild dish soap using a soft cloth or old toothbrush. Pay special attention to the folds and grooves where grime accumulates. Rinse thoroughly and dry with a clean cloth.
Apply a Thin Layer of Petroleum Jelly
After cleaning, apply a thin layer of petroleum jelly to the gasket. This helps restore flexibility to dried-out rubber and can improve the seal. It also makes the gasket easier to clean in the future by preventing dirt from sticking.
Reshape a Warped Gasket
If the gasket has become warped or compressed in certain spots, you can sometimes reshape it. Use a hair dryer on low heat to warm the warped section until the rubber becomes pliable, then gently reshape it with your fingers. Hold it in the correct position until it cools and sets. This is a temporary fix, but it can buy you some time.
Check Door Alignment
Sometimes the problem is not the gasket itself, but the door alignment. If your refrigerator door is sagging or not hanging straight, the gasket will not make full contact with the frame. Check the hinges and adjust them if necessary. Many refrigerators have adjustable hinges that you can tighten or loosen with a screwdriver or hex wrench.
How to Replace a Refrigerator Door Seal
If cleaning and adjustments do not fix the problem, it is time to replace the gasket. Here is how to do it step by step:
Step 1: Order the Right Replacement Gasket
You need to get a gasket that is specifically designed for your refrigerator’s make and model. Check the model number sticker inside your refrigerator (usually on the side wall or behind the crisper drawer) and use it to order the correct replacement. You can find replacement gaskets through the manufacturer, appliance parts retailers, or online.
Step 2: Prepare the New Gasket
New gaskets often come folded in packaging, which can leave them kinked or misshapen. Before installation, soak the new gasket in warm water for a few minutes or use a hair dryer on low heat to make it pliable and easier to work with. Let it relax into its natural shape.
Step 3: Remove the Old Gasket
Most refrigerator gaskets are held in place by being tucked under a retaining strip or metal channel behind the door liner. Starting at one corner, gently pull the gasket away from the door. On some models, you may need to loosen screws behind the gasket to release the retaining strip. Do not remove the screws completely. Just loosen them enough to pull the gasket free.
Important tip: do not remove the entire old gasket all at once. Work in sections, removing a portion of the old gasket and installing the corresponding section of the new one before moving on. This helps keep the door liner properly aligned.
Step 4: Install the New Gasket
Starting at the top of the door, tuck the lip of the new gasket under the retaining strip or into the channel. Work your way around the door, pressing the gasket firmly into place. If you loosened screws, tighten them once the gasket is seated. Make sure the gasket is flat and smooth all the way around with no twists or bunches.
Step 5: Test the New Seal
Close the door and run the dollar bill test at several points around the gasket. The bill should meet firm resistance everywhere. Also check that the door closes and stays closed properly. If there are any gaps, gently adjust the gasket by hand. It may take a day or two for a new gasket to fully conform to the shape of the door frame.
How Long Should a Refrigerator Door Seal Last?
A quality refrigerator door gasket should last about 10 to 15 years under normal use. However, several factors can shorten its lifespan. Frequent opening and closing, exposure to heat from nearby ovens or dishwashers, harsh cleaning chemicals, and general wear and tear all take their toll.
Understanding how long your appliances should last can help you plan for maintenance and replacements. If your refrigerator is approaching the 10-year mark, it is worth inspecting the gasket even if you have not noticed any obvious problems yet.
Common Mistakes That Shorten Door Seal Life
There are several common refrigerator mistakes that can accelerate gasket wear. Being aware of these can help you get the most life out of your door seal:
- Slamming the door — Closing the door forcefully puts unnecessary stress on the gasket and hinges.
- Hanging on the door — Leaning on or pulling down on the door can warp the hinges and misalign the gasket.
- Overstuffing the fridge — Packing items too tightly can prevent the door from closing fully, putting constant pressure on the gasket.
- Using harsh cleaners — Bleach and abrasive cleaners can degrade the rubber material. Stick to mild soap and water.
- Ignoring spills on the gasket — Sugary or acidic spills left on the gasket can break down the rubber and attract mold.
- Placing the fridge near heat sources — A refrigerator next to an oven, dishwasher, or in direct sunlight will have a gasket that dries out and cracks faster.
When to Call a Professional
Replacing a door gasket is a manageable DIY project for most homeowners. However, there are situations where calling a professional is the smarter move:
- If the door itself is warped or damaged, not just the gasket
- If the hinges are worn out and need replacement
- If you have replaced the gasket but the door still does not seal properly
- If your refrigerator has other issues beyond the gasket, like temperature problems or compressor noise
- If you are not comfortable working with the retaining strip or screws
At Tech Angels, we handle refrigerator door seal replacements regularly for Vancouver homeowners. If you would rather have a professional take care of it and make sure everything is properly aligned and sealed, we are happy to help.
Keeping Your Refrigerator Door Seal in Good Shape
Once you have a good seal in place, whether it is your original gasket or a replacement, a little regular maintenance goes a long way:
- Clean the gasket monthly — A quick wipe with warm soapy water prevents buildup and keeps the rubber supple.
- Apply petroleum jelly every six months — This keeps the rubber from drying out and cracking.
- Do the dollar bill test twice a year — Catching a weakening seal early saves you money in the long run.
- Keep the top of the fridge clear — Heavy items on top can shift the frame and affect door alignment.
- Close the door gently — It sounds simple, but it makes a real difference in gasket longevity.
A refrigerator door seal is a small, inexpensive part that plays a huge role in how well your fridge performs. Keeping an eye on it and addressing problems early is one of the easiest ways to extend the life of your refrigerator, keep your food safe, and avoid unnecessary repair bills.